Trekking in the Himalayas - Everest Base Camp
Do you get tired of the unforgiving Rust’s borrow checker? Is yet another undefined behaviour in your C++ codebase making you want to drop everything and go on an adventure? Or perhaps your fingers are getting sore from generating Java boilerplate with Alt+Enter? If so, trekking in the Himalayas is what you need!
The Himalayas are the home to some of the world’s highest peaks, including Mount Everest. The common myth is that trekking in the Himalayas is only for experienced mountaineers, or that you need to spend tens of thousands of dollars to do it. In reality, you can find guided treks stretching several days to weeks at around $1500, and most treks do not require any mountaineering experience.
I recently completed the Everest Base Camp (EBC) trek in Nepal, one of the most popular trekking routes in the country. In this post, I’ll share my experience and some tips for anyone considering a similar adventure. I’ll also flex some photos I took along the way.
Short overview of the trek
Setup
I booked the trek through a local agency in Kathmandu. You can see the details of the package on their website. The package included all the necessary permits, accommodation in teahouses along the route, meals, a guide, and a porter.
My original trek was a round-trip from Lukla to EBC via the Cho La Pass. Still, due to the heavy snowfall during my trek, we had to skip the pass and return via the same route (which I didn’t want to repeat, so I took a helicopter back from Gorak Shep to Lukla). Luckily, I got a refund for this segment.
Because the original plan didn’t have other clients, I ended up having a private guide and porter for the entire trek, which was a nice bonus. Still, we joined another group for the entire trek to EBC itself (which ended up being the whole trek for me as well).
The rough plan was outlined by the agency (map from the Nepal Hiking Team website)
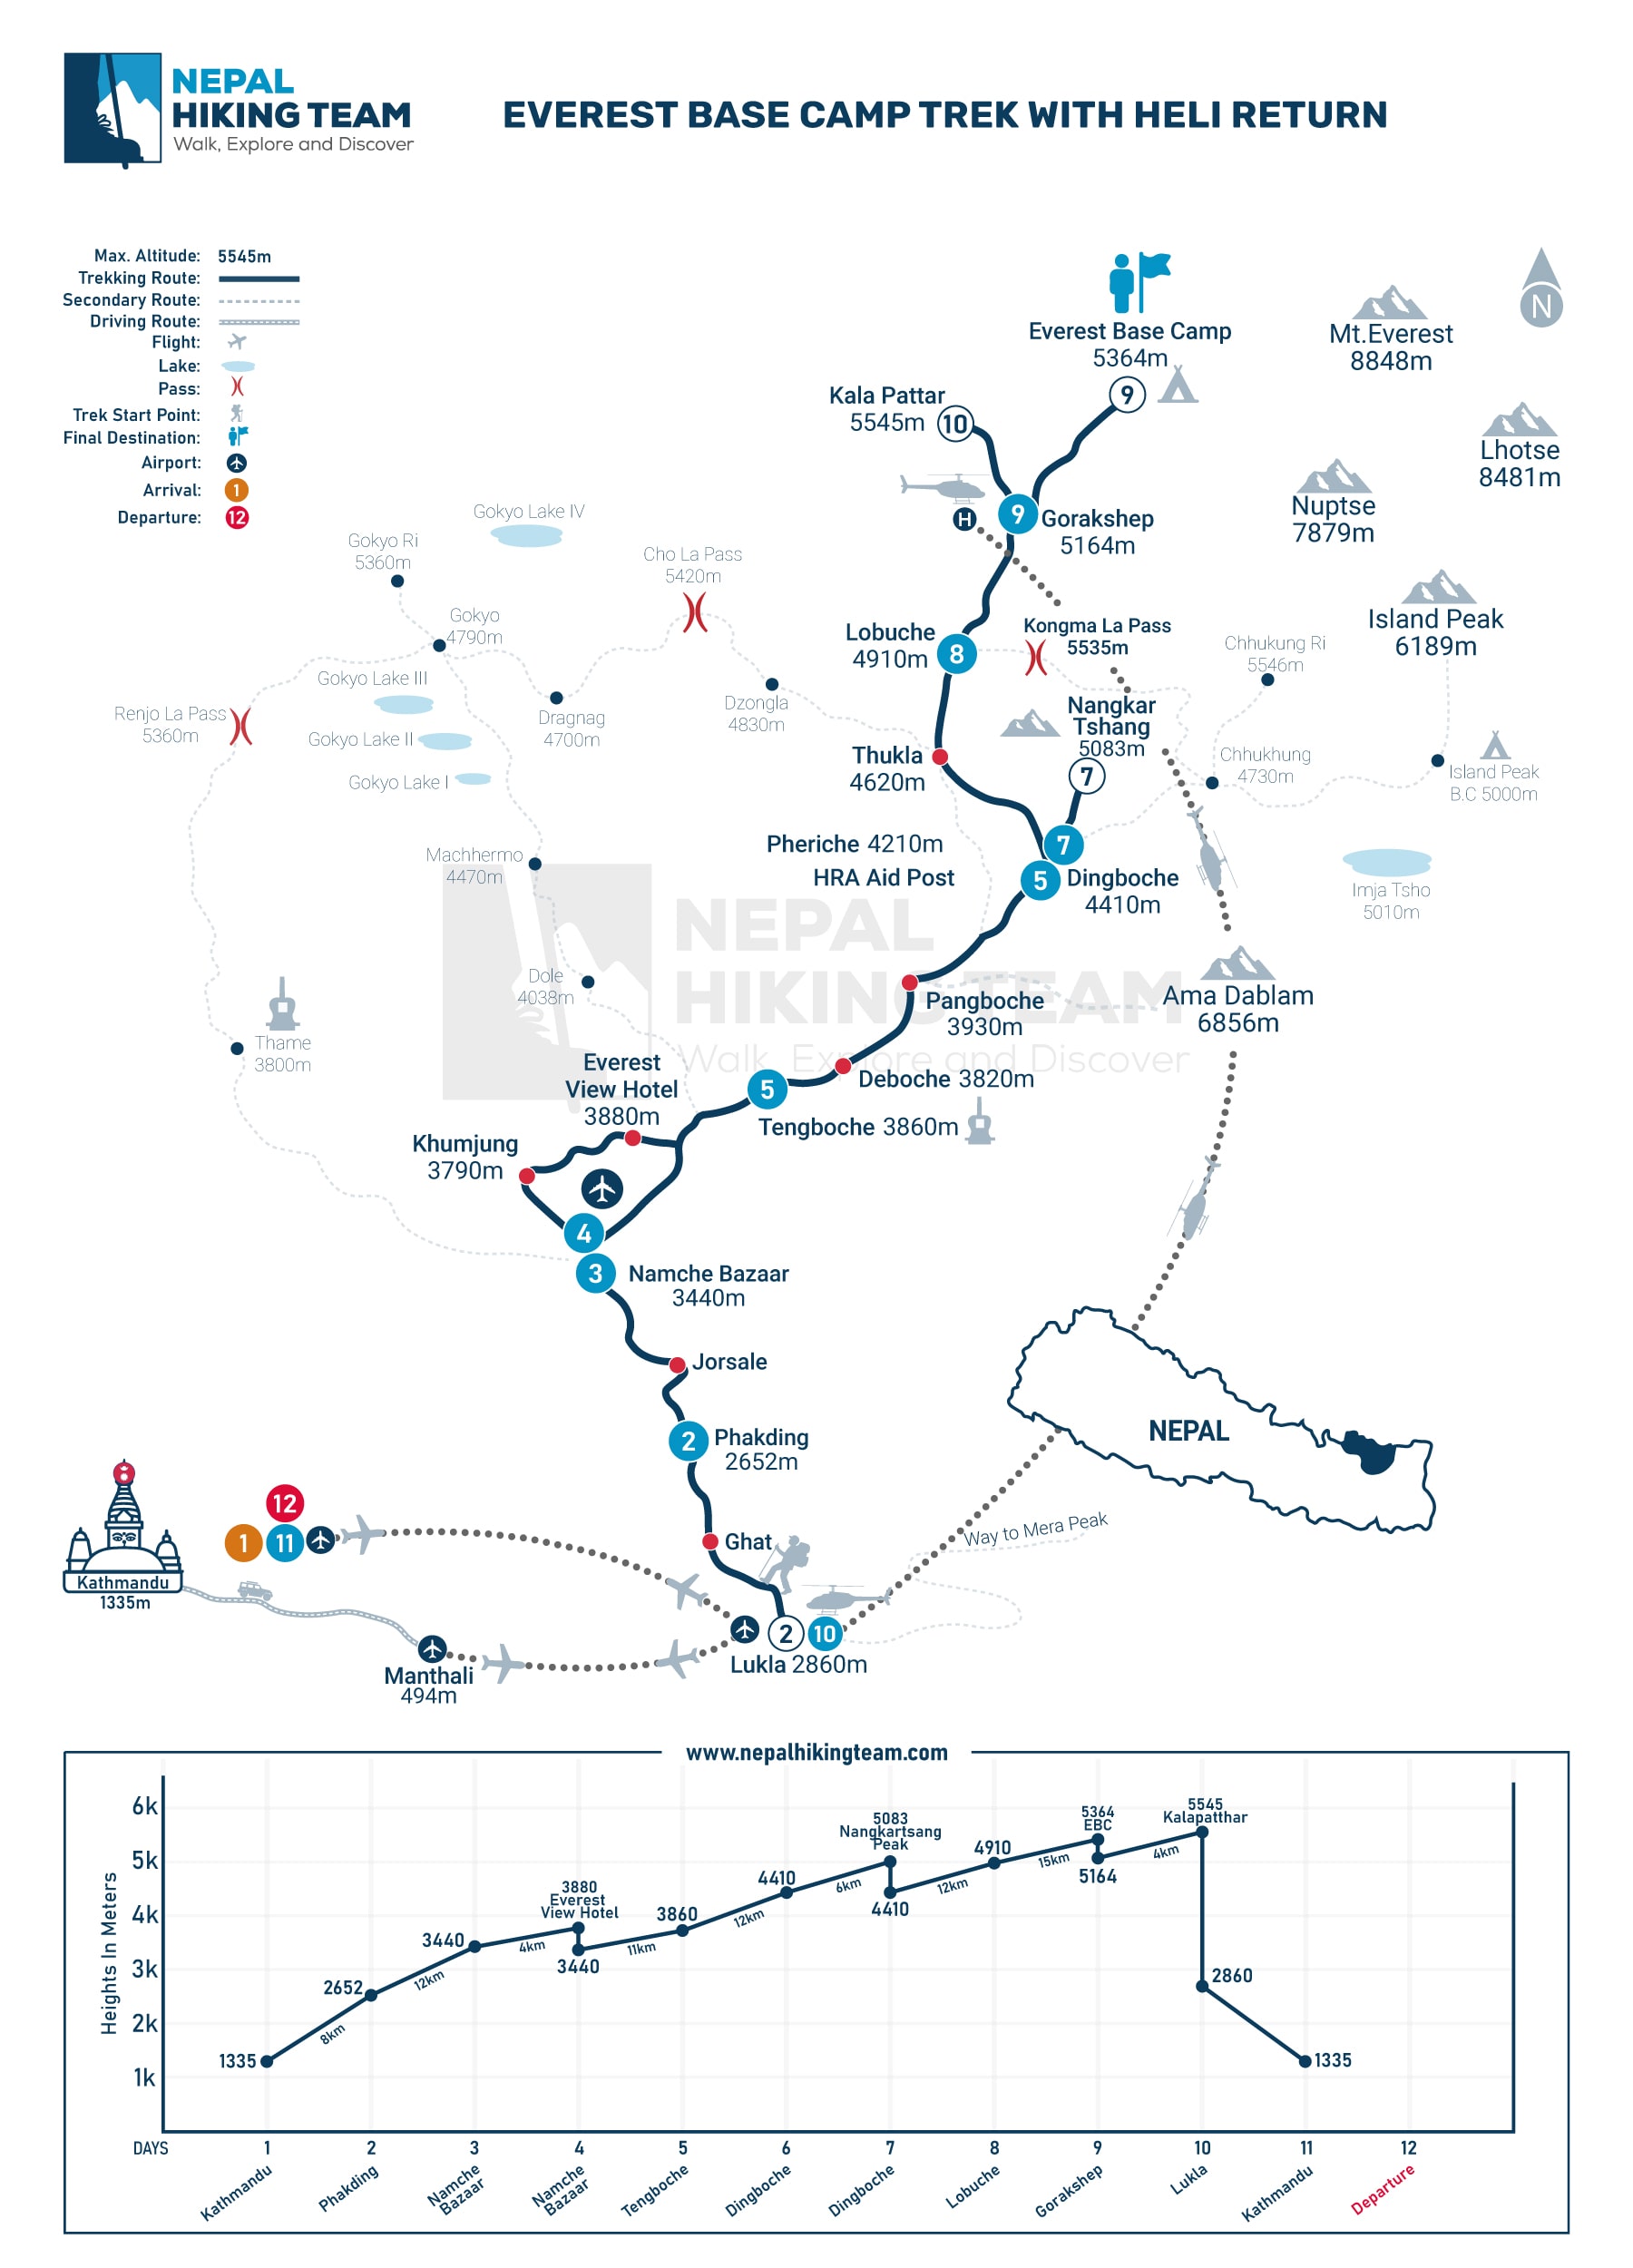 Everest Base Camp Trek route map
The trek
Day 1 - Kathmandu (1324 metres) to Lukla (2860 metres) to Phakding (2652 metres)
The EBC trek took 10 days, not including the stay in Kathmandu. The route started from Lukla, a small village with a tiny airport (runway length: 527 metres), considered one of the most dangerous airports in the world, where small planes land and take off in challenging conditions. You can find a live view of the airport here. I flew directly from Kathmandu to Lukla, but usually, you need to get to Ramechhap by bus first (about 6-8 hours) and then fly from there.
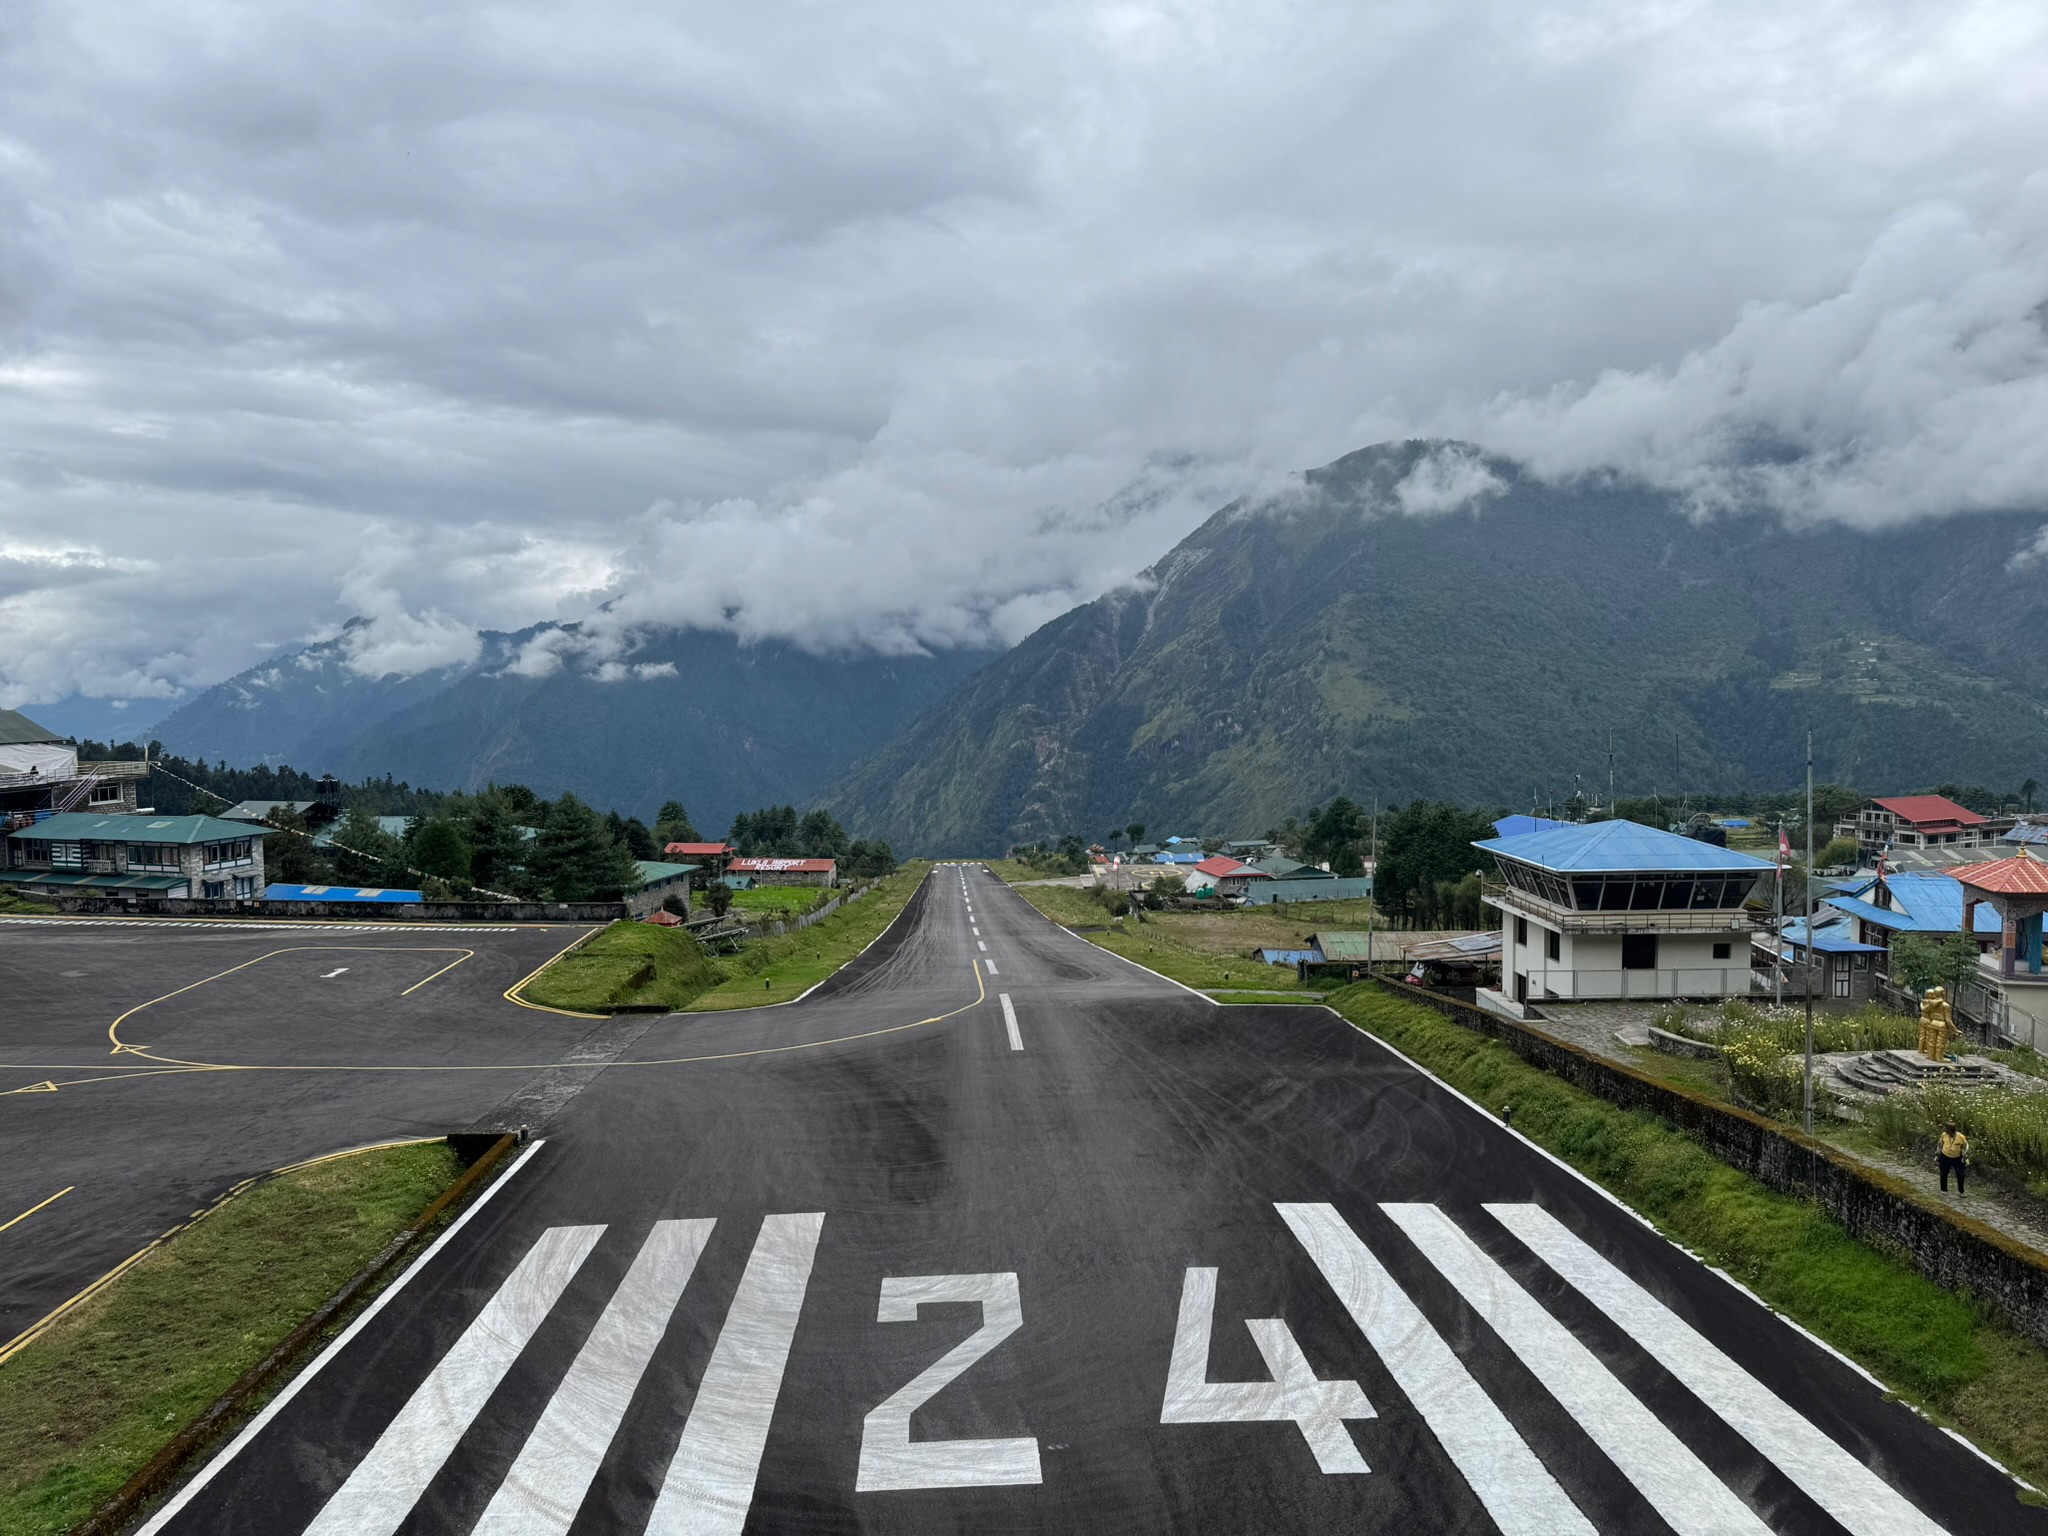 The Lukla airport runway - quite a sight!
From there, I trekked through various villages and monasteries, following the Dudh Koshi river upstream. The trail is well-marked and there are plenty of teahouses along the way. The first step was Phakding, only 8 km away.
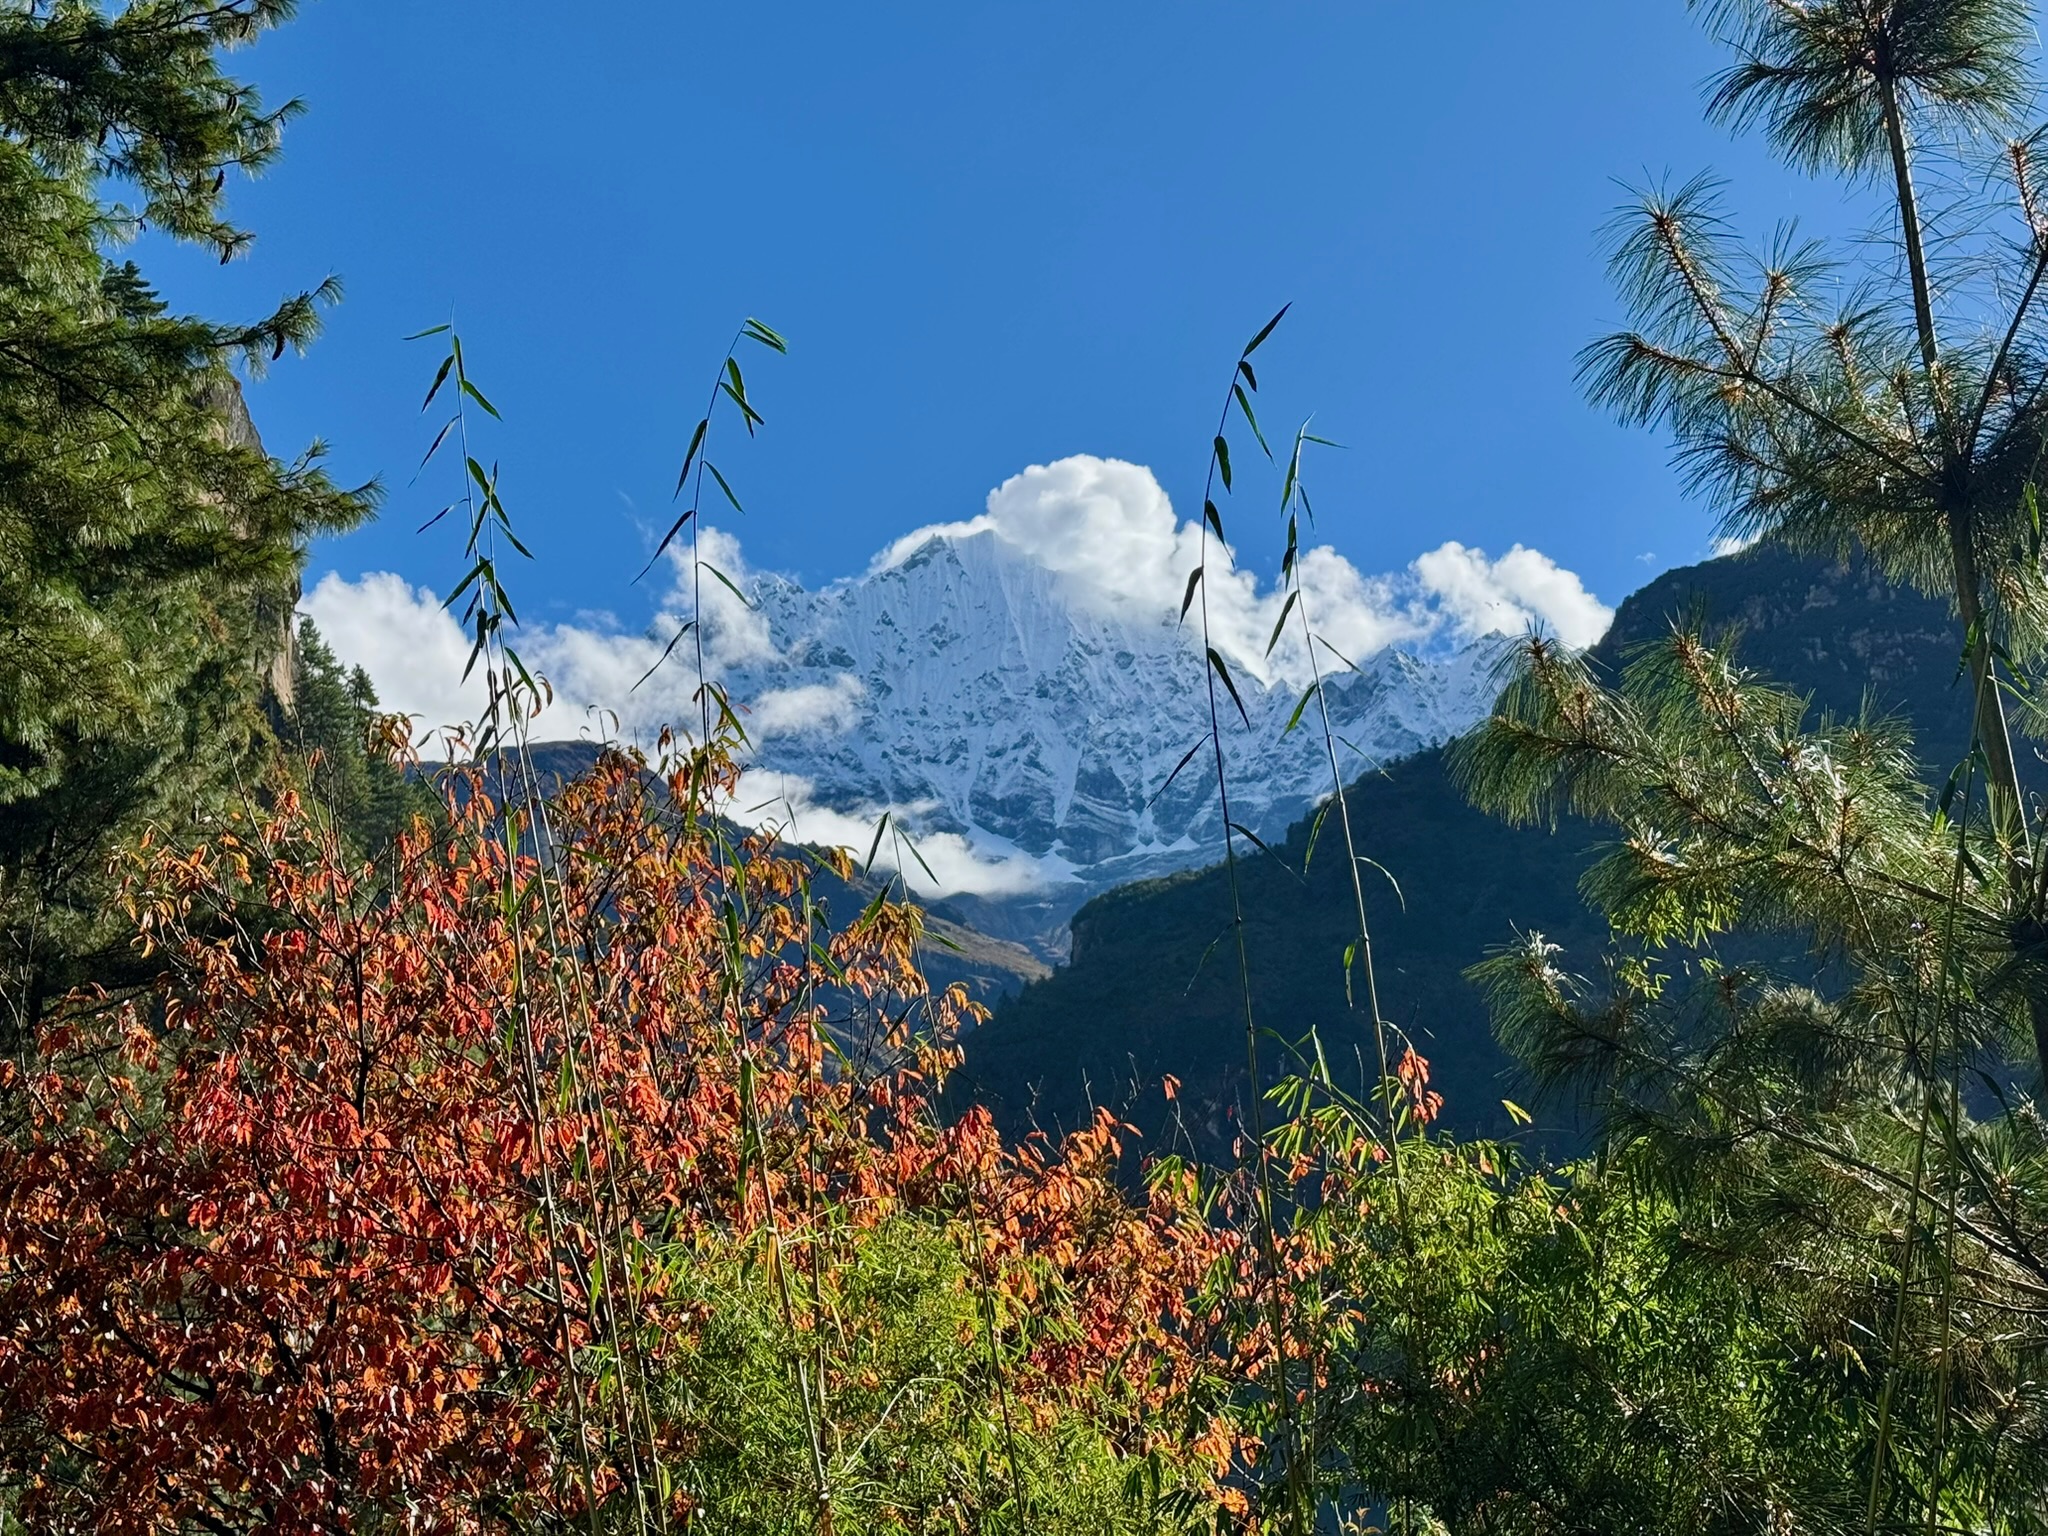 One of the first spectacular views of the Himalayas along the way
Day 2-3 - Namche Bazaar (3440 metres)
The next day, I headed to Namche Bazaar, the largest village in the region and a popular acclimatization pit stop. I stayed there for two nights. It’s a bustling place with numerous shops, cafes, and restaurants. If you’ve forgotten anything, you can find it here. You can also find things that you didn’t even know you needed!
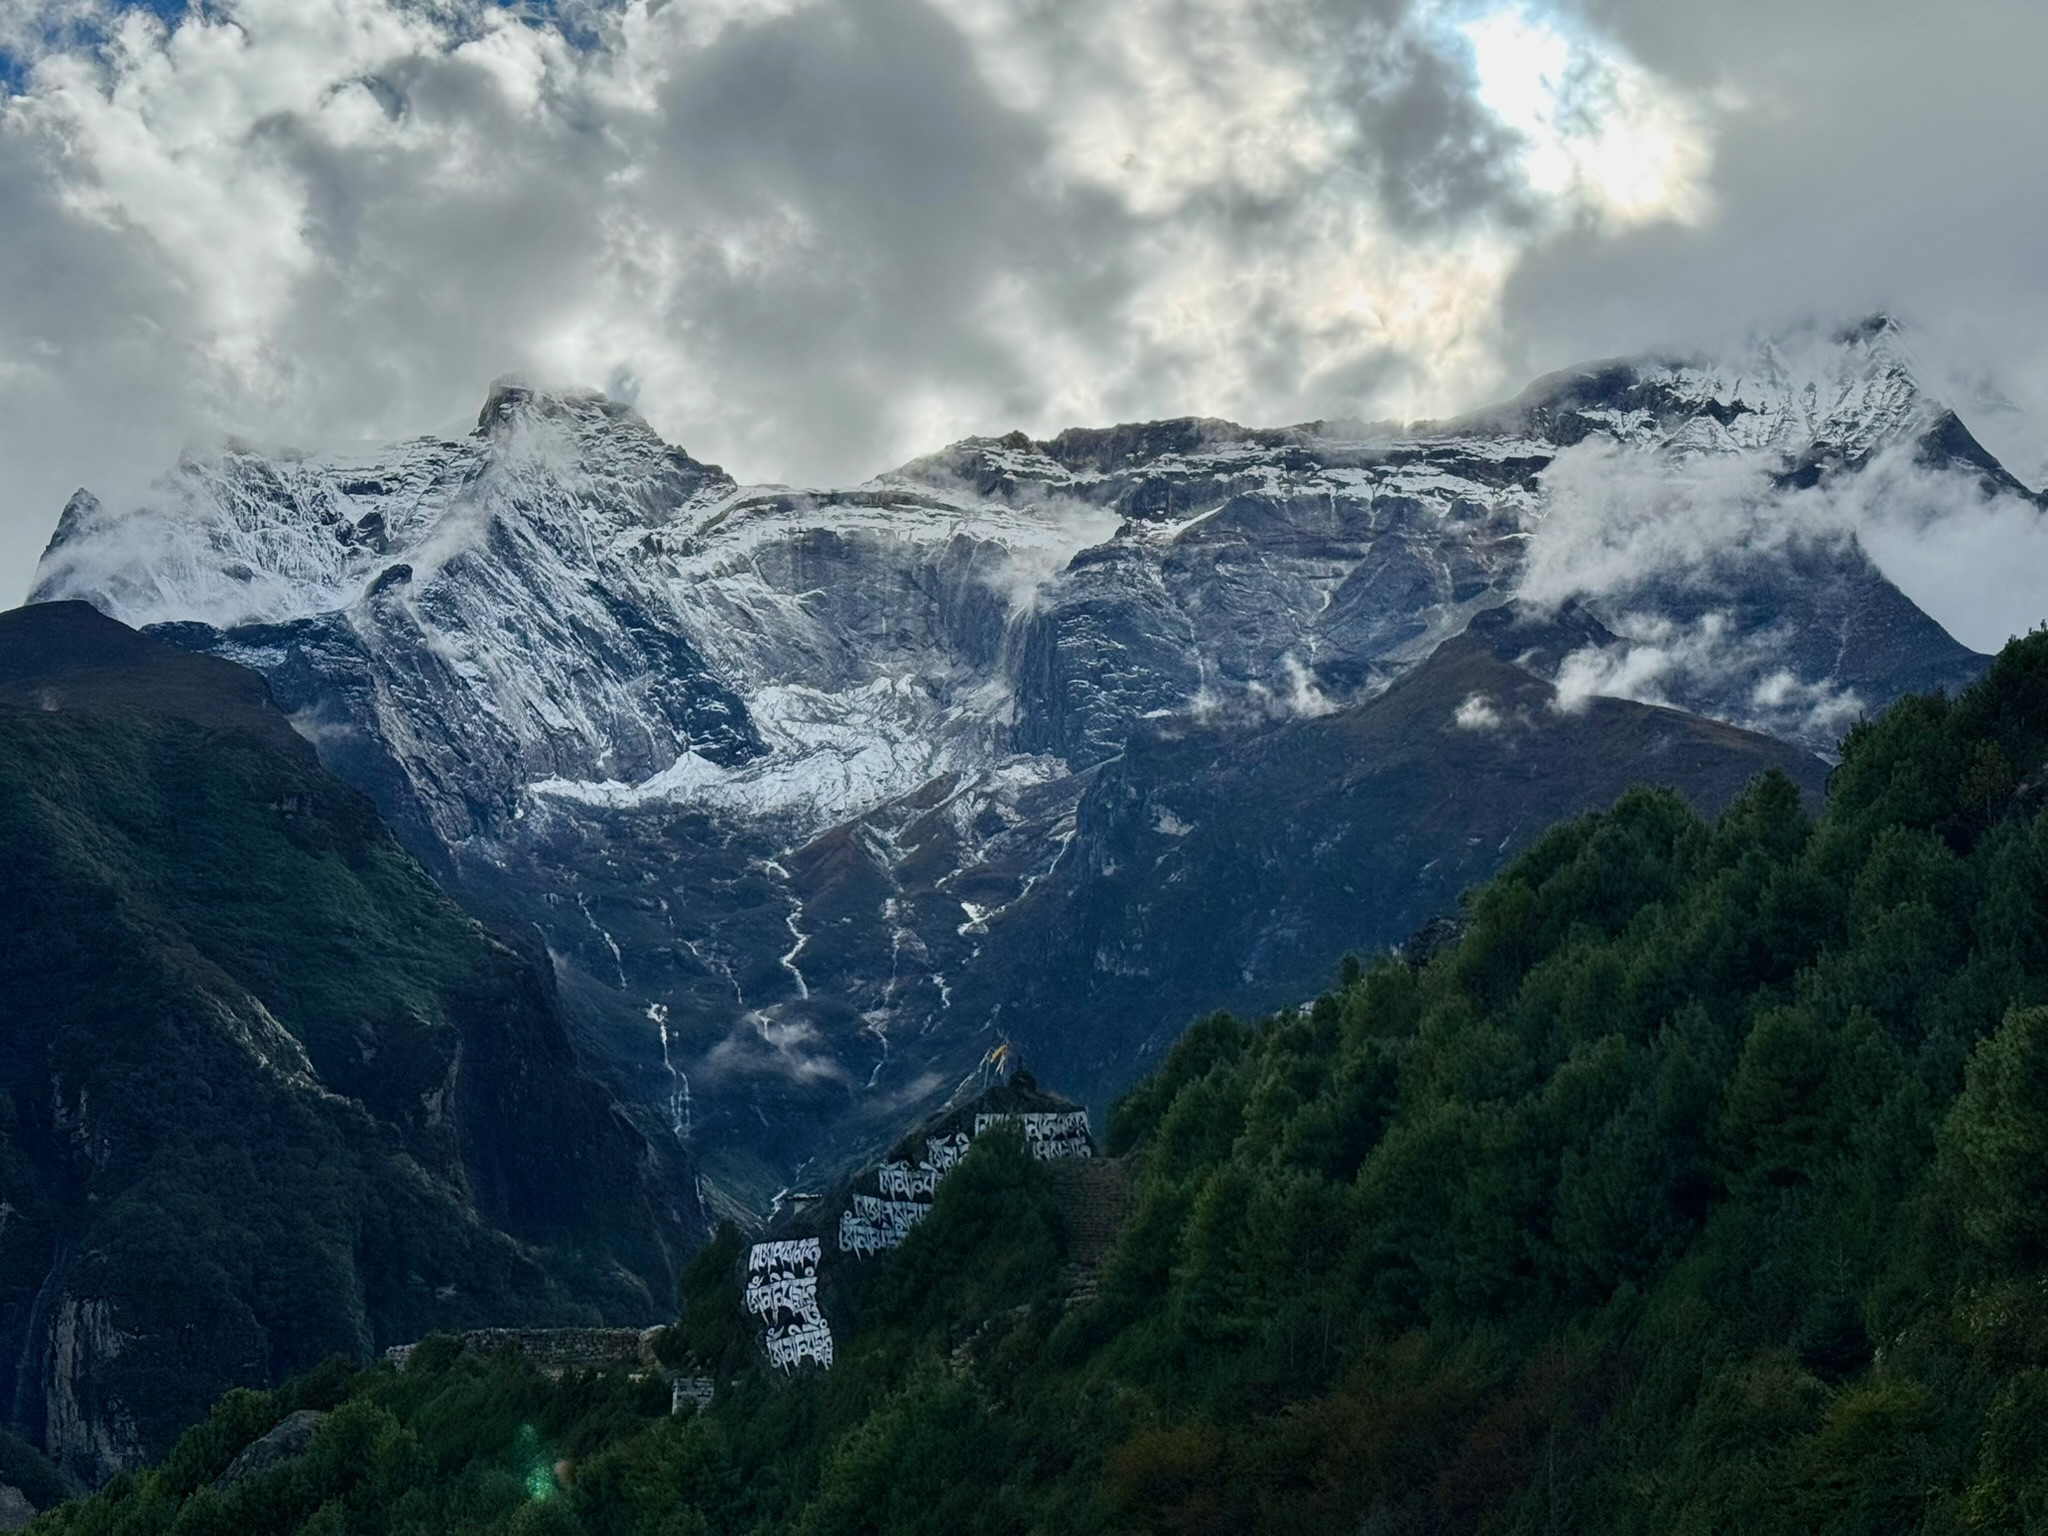 Dramatic view from the top of Namche Bazaar
On the second day in Namche, I did an acclimatization hike to the Everest View Hotel (3880 metres). From there, I had a stunning view of Everest, Lhotse, and Ama Dablam. Yes, it was a bit cloudy, so no Everest that day, but it was still a fantastic sight and hike.
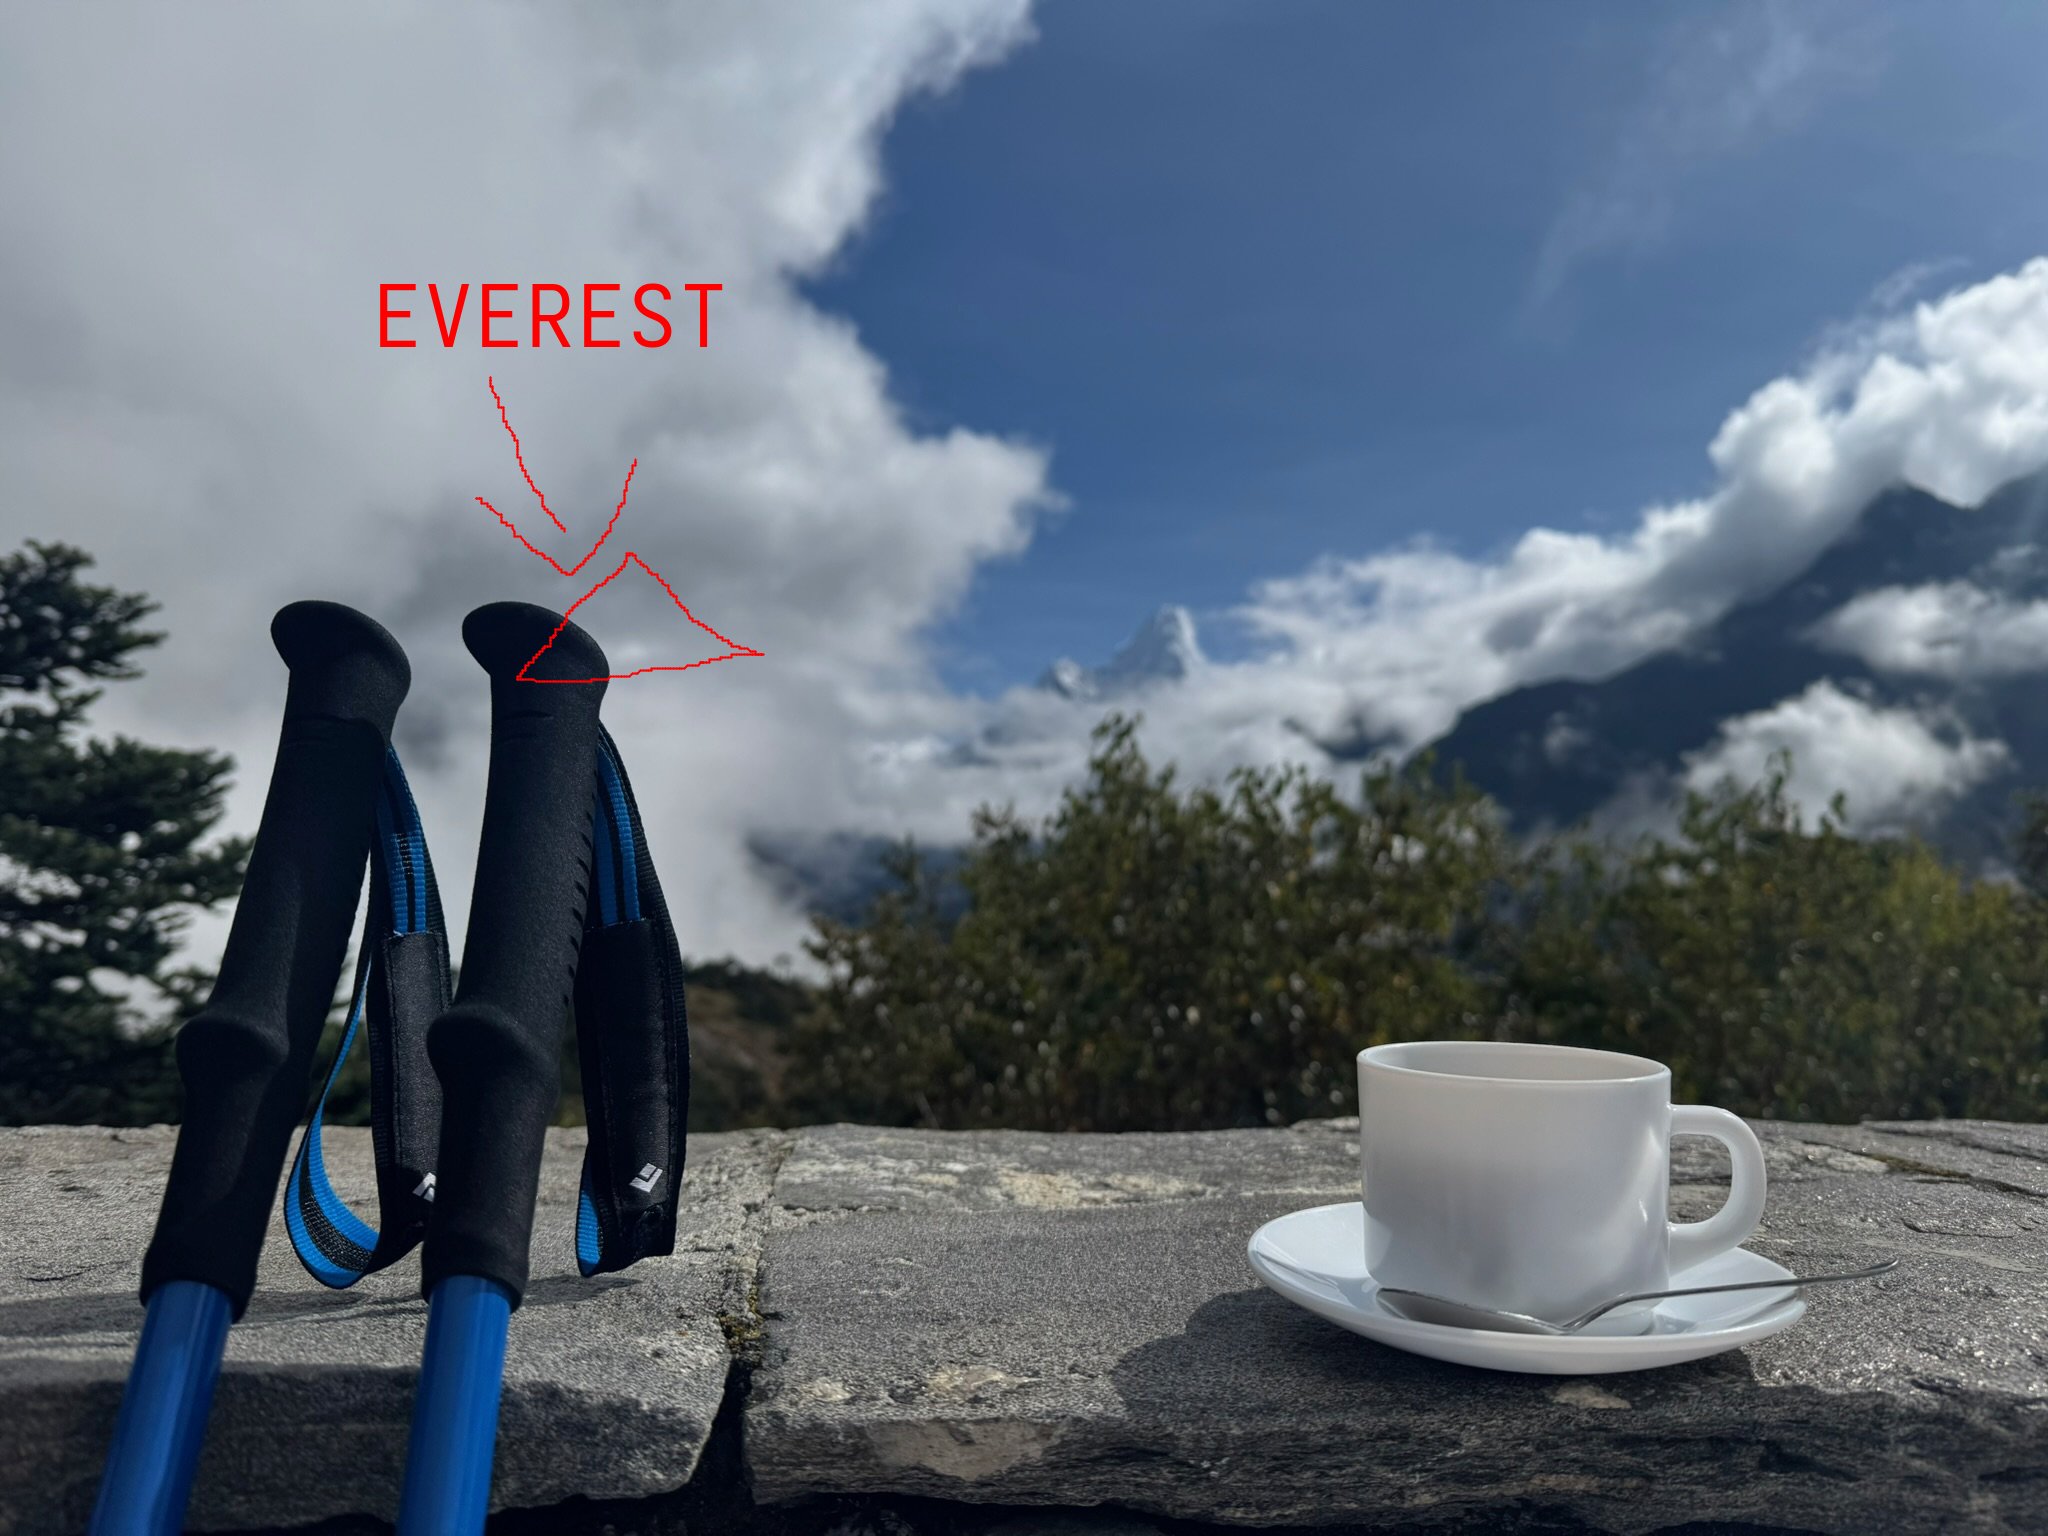 At least I had a clear canvas to paint Everest myself
Day 4 - Tengboche (3860 metres)
Next step - Tengboche, famous for its monastery. I had an opportunity to meditate there with the monks chanting their prayers, which was a pretty unique experience! It was raining heavily that day, so the views were limited. However, the monastery itself was beautiful and worth the visit. No photos allowed inside!
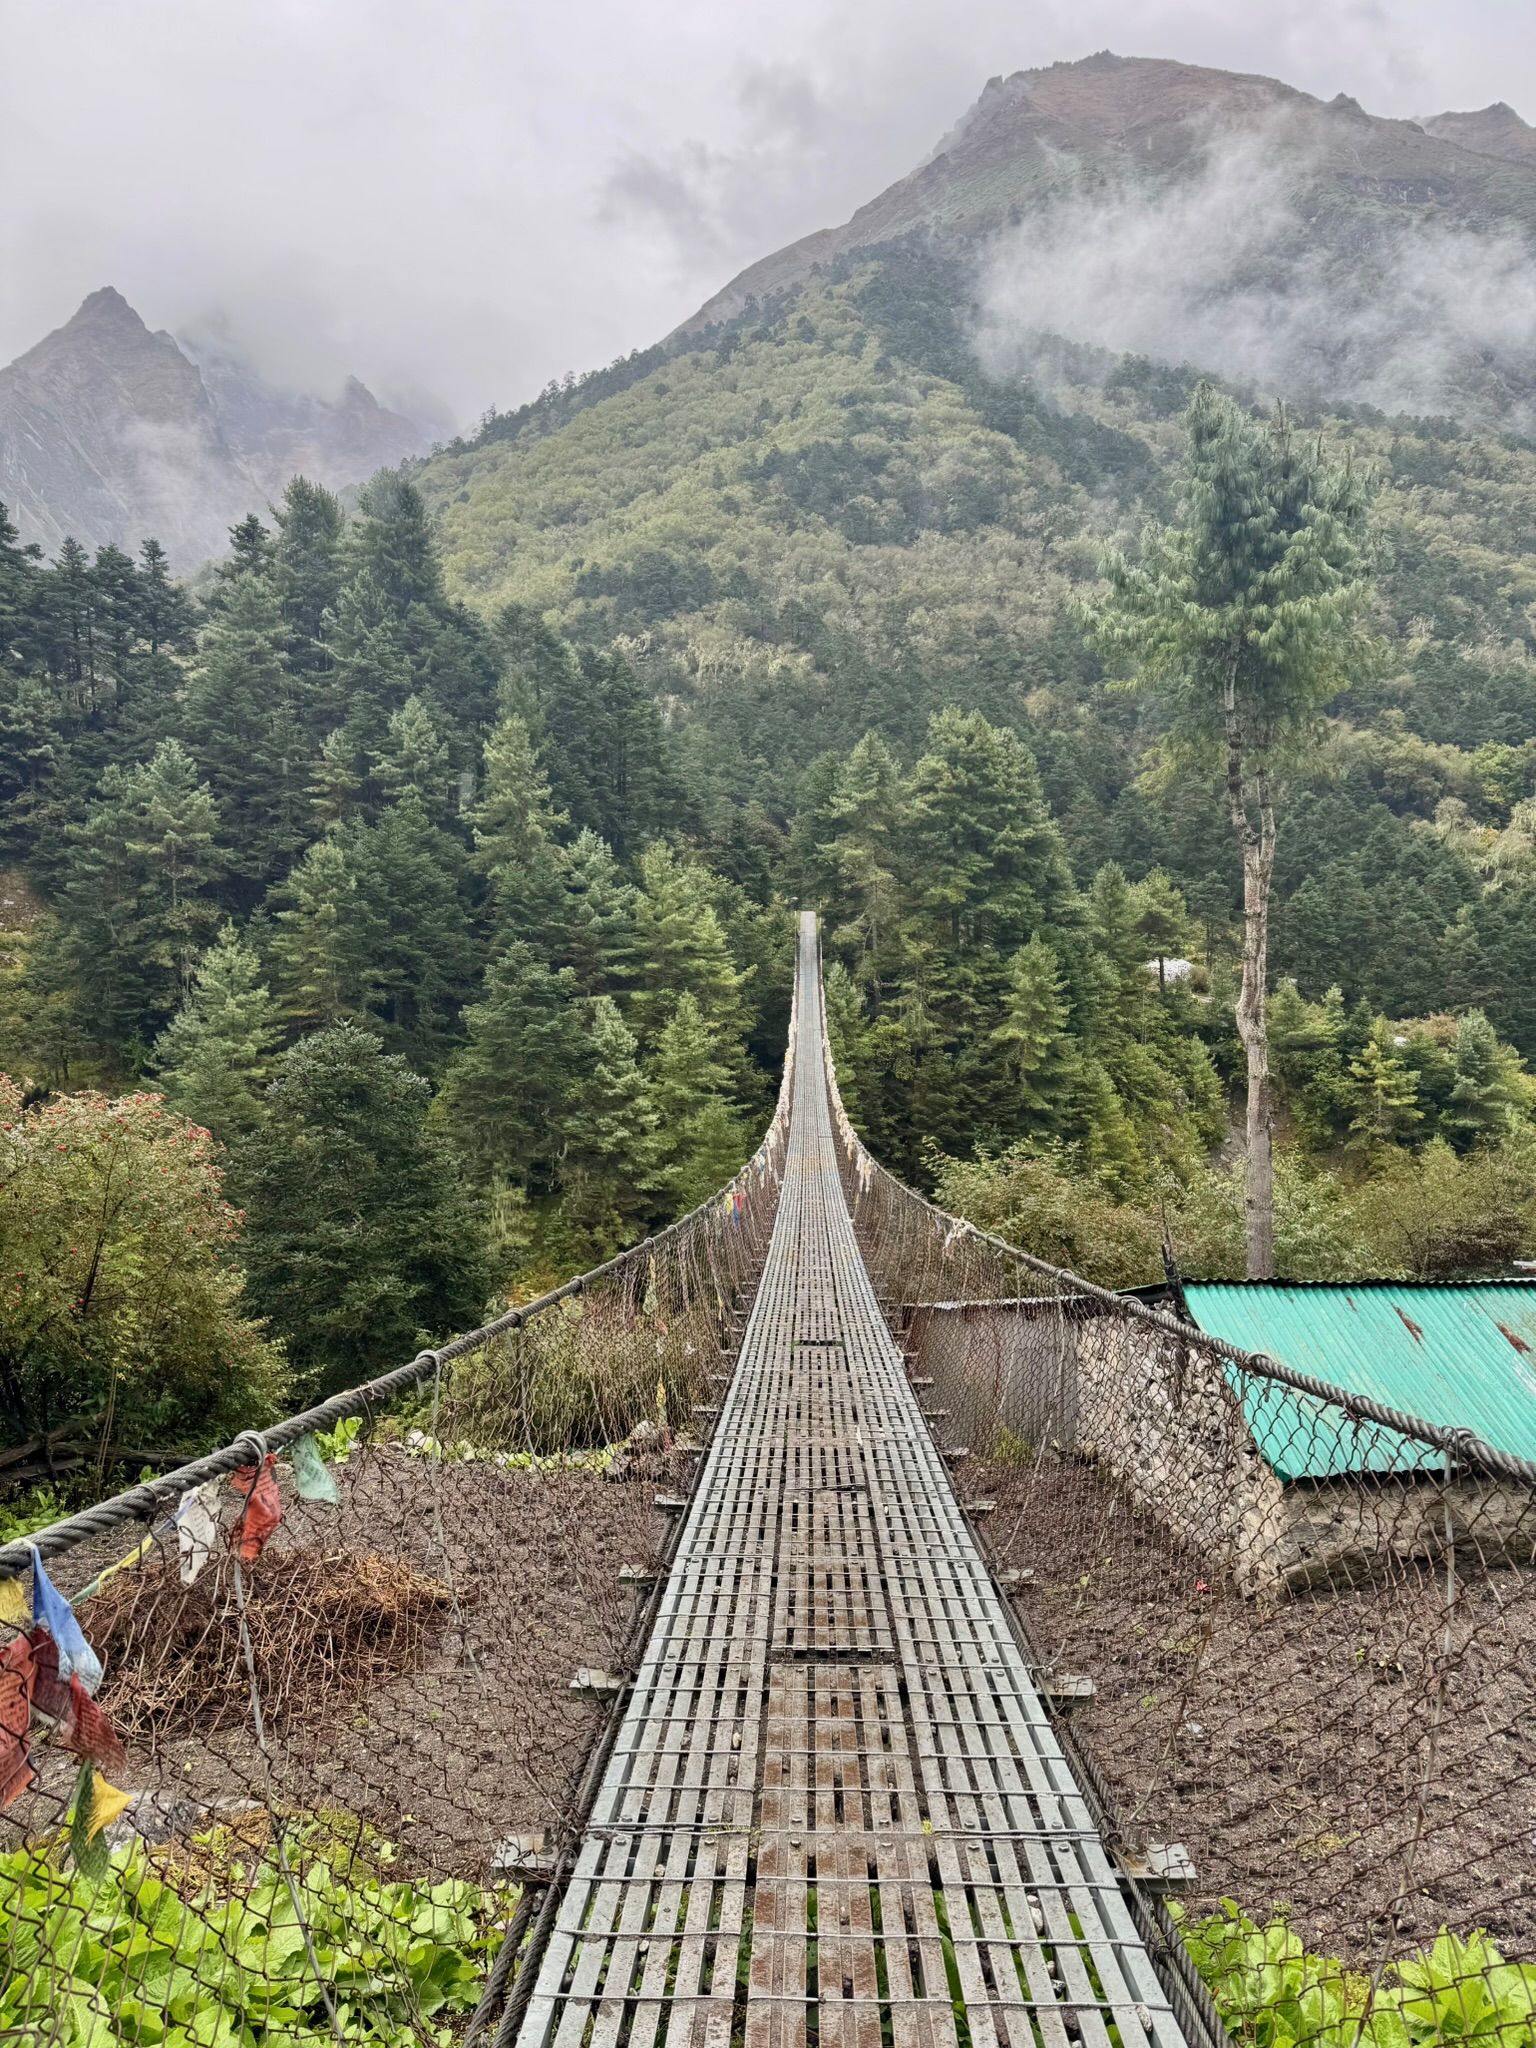 One of many suspension bridges along the way
Day 5-6 Dingboche (4410 metres)
From Tengboche, I trekked to Dingboche, where I stayed for two nights. The first day was uneventful - I got to buy myself a decent rain jacket as mine was no longer up to the task. Never forget to haggle when buying stuff in Nepal!
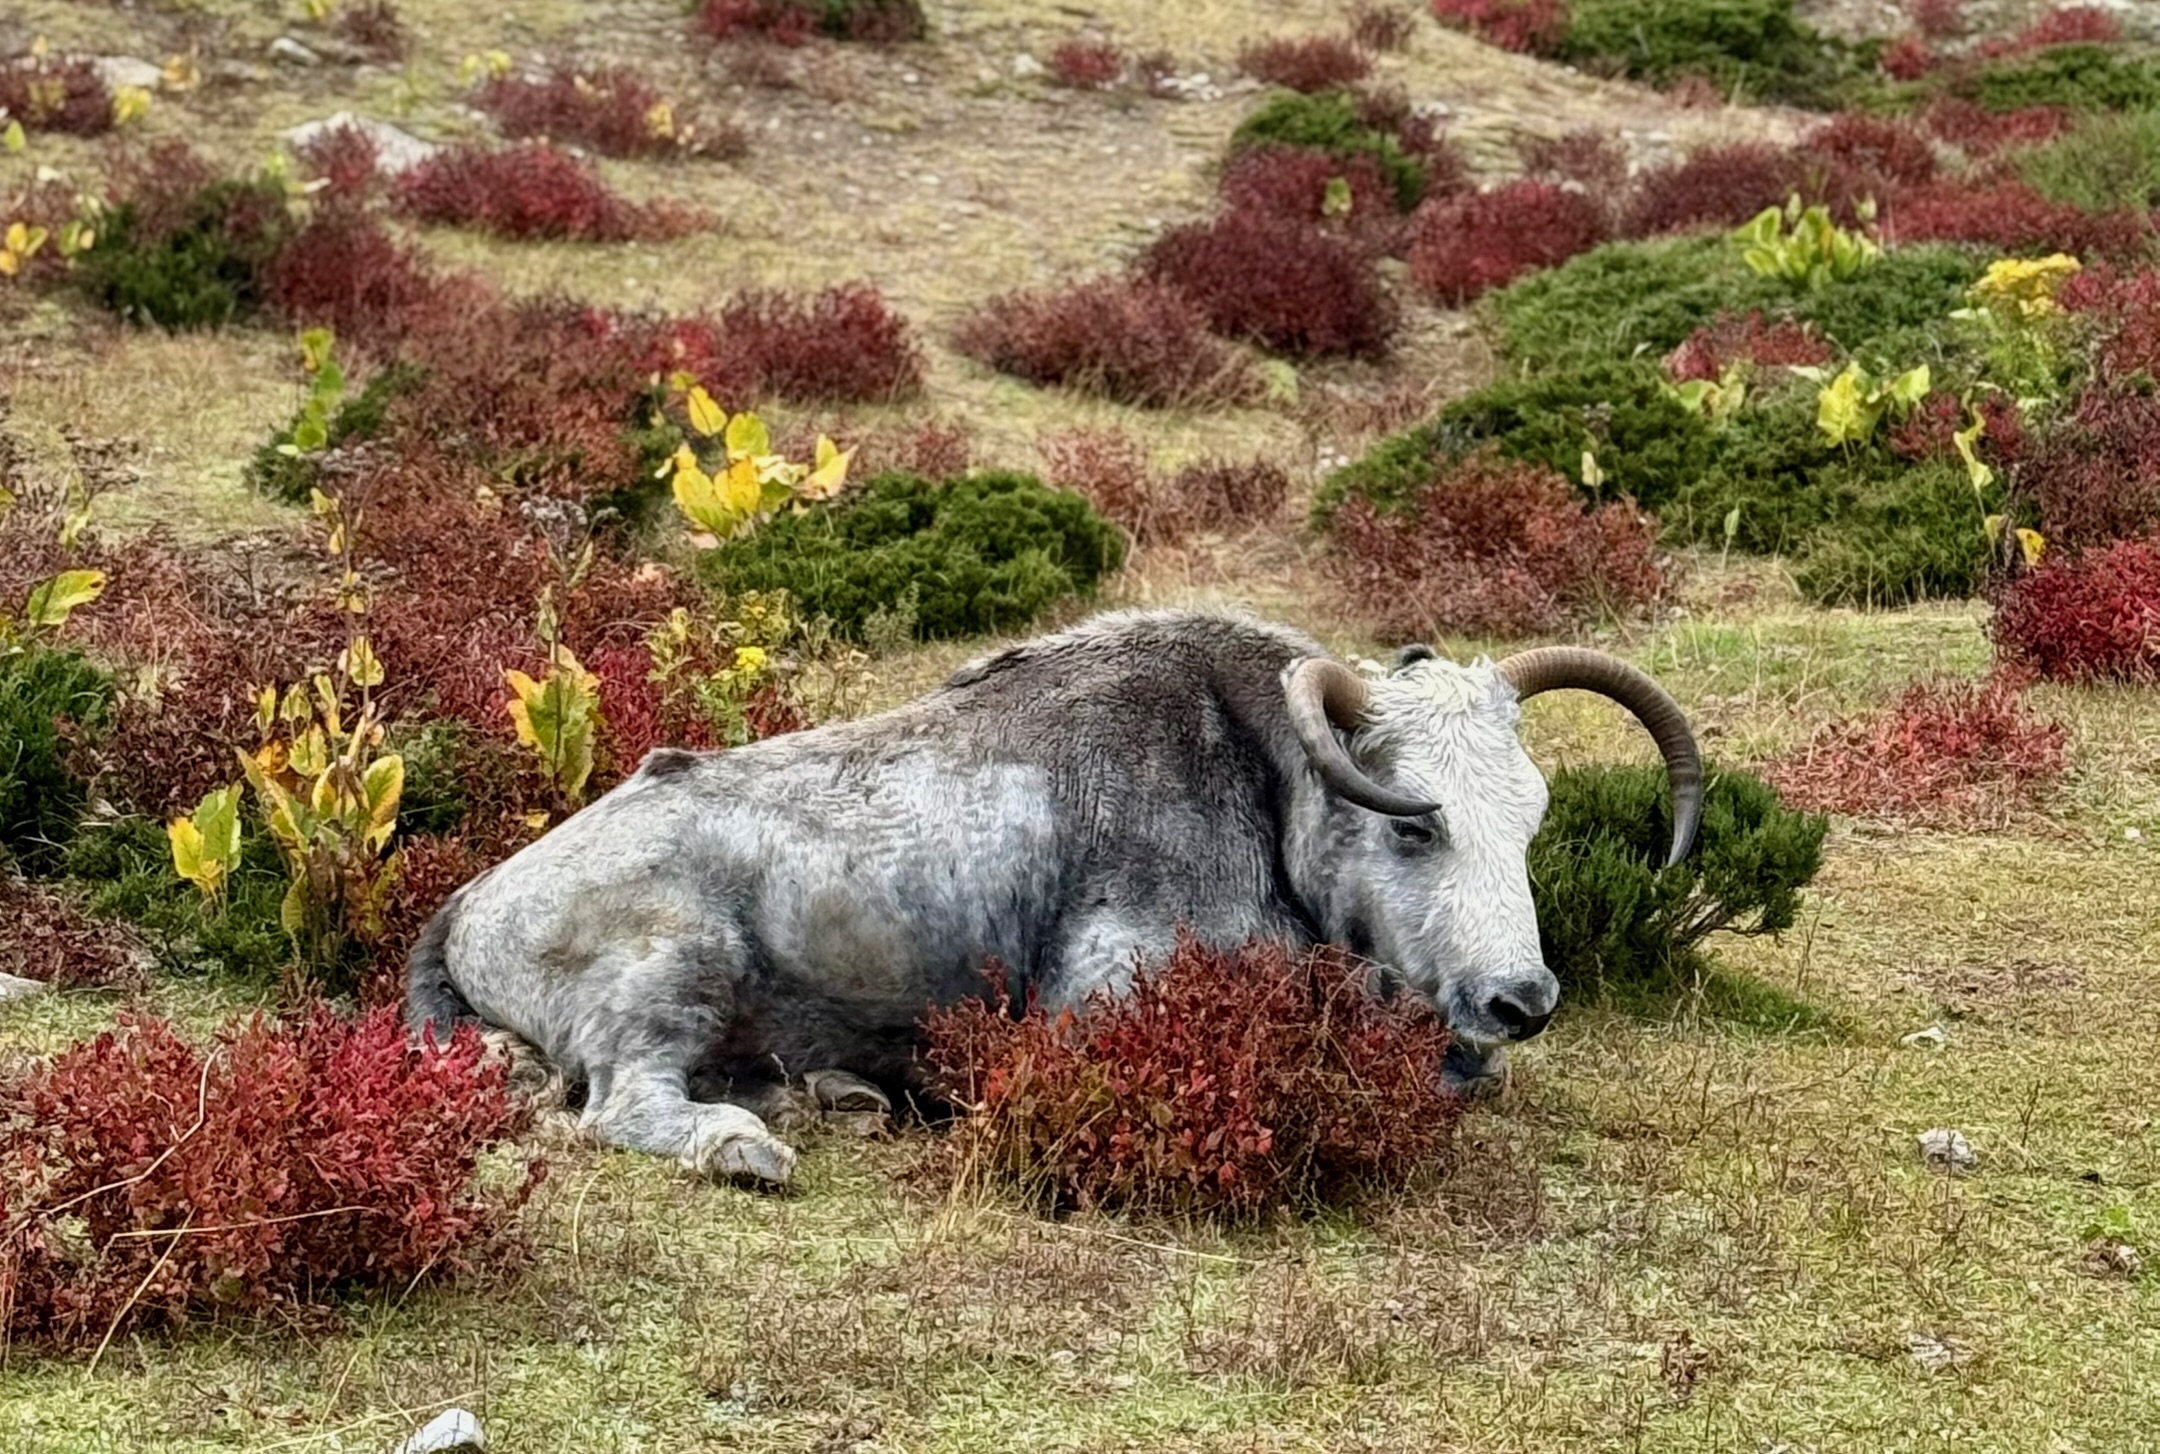 A majestic yak
On the second day, the weather deteriorated further, and visibility was very low. I only reached halfway up the Nangkartshang peak before turning back. Later that day, a heavy snowfall began, making the next day’s trek quite challenging.
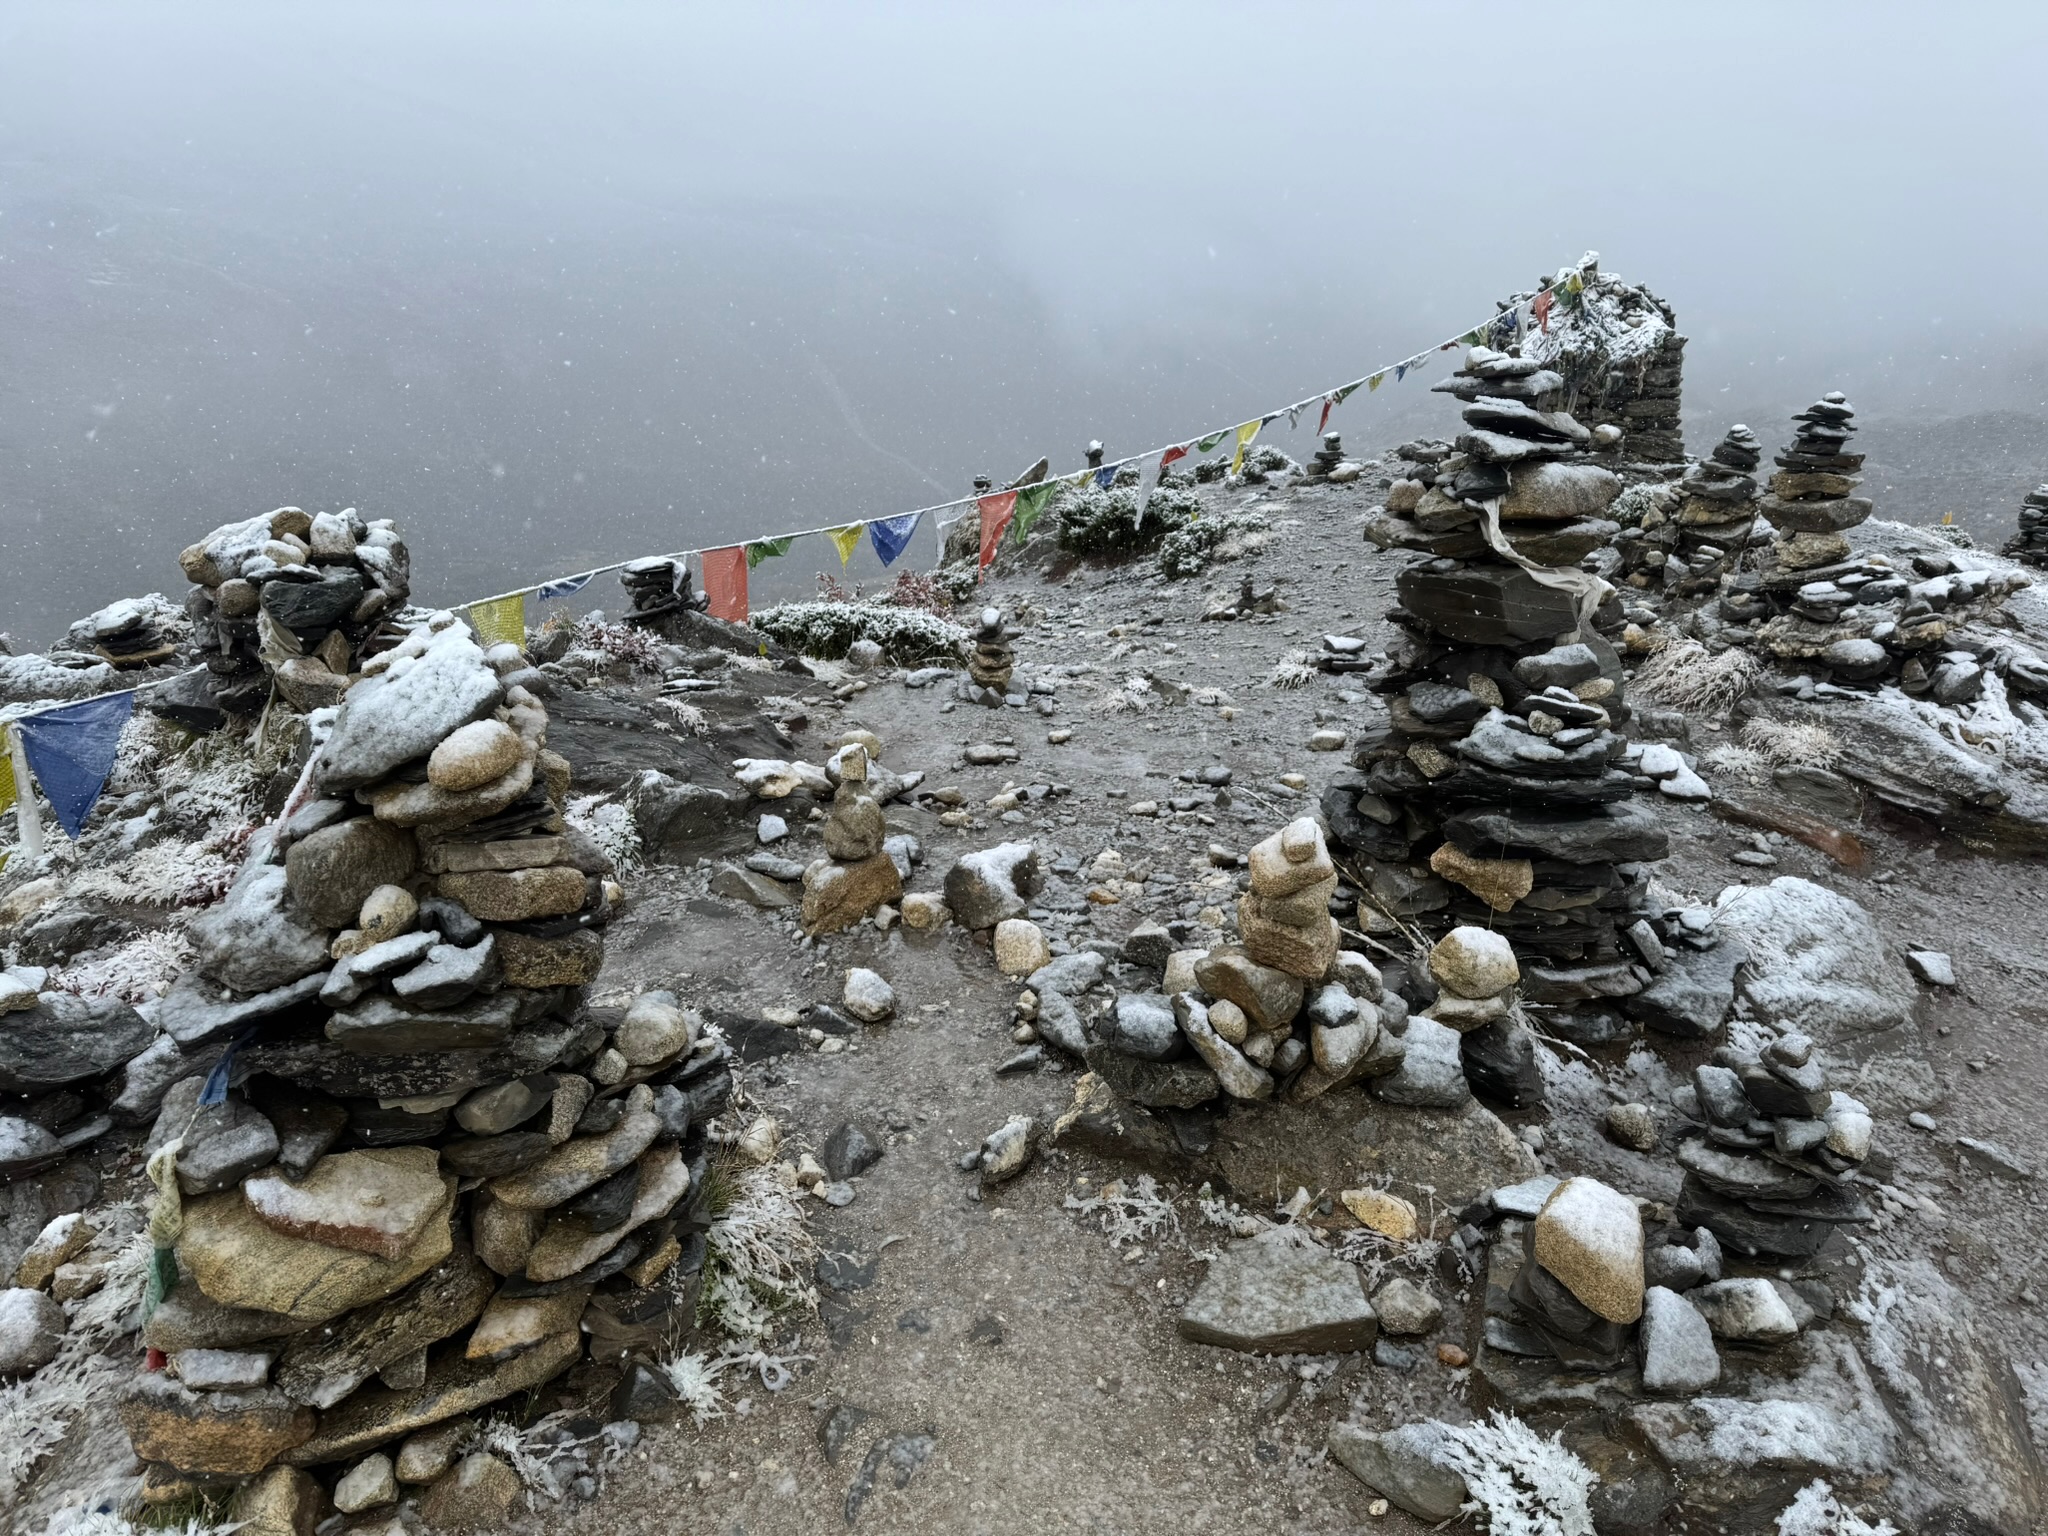 Good hike acclimatization hike.
Day 7 - Lobuche (4910 metres)
The next day, everything outside was white, with a thick layer of fresh snow covering the ground. The trek to Lobuche was quite challenging, primarily due to the difficulty of passing slow-moving trekkers (without crampons) without getting your feet wet in the deep snow.
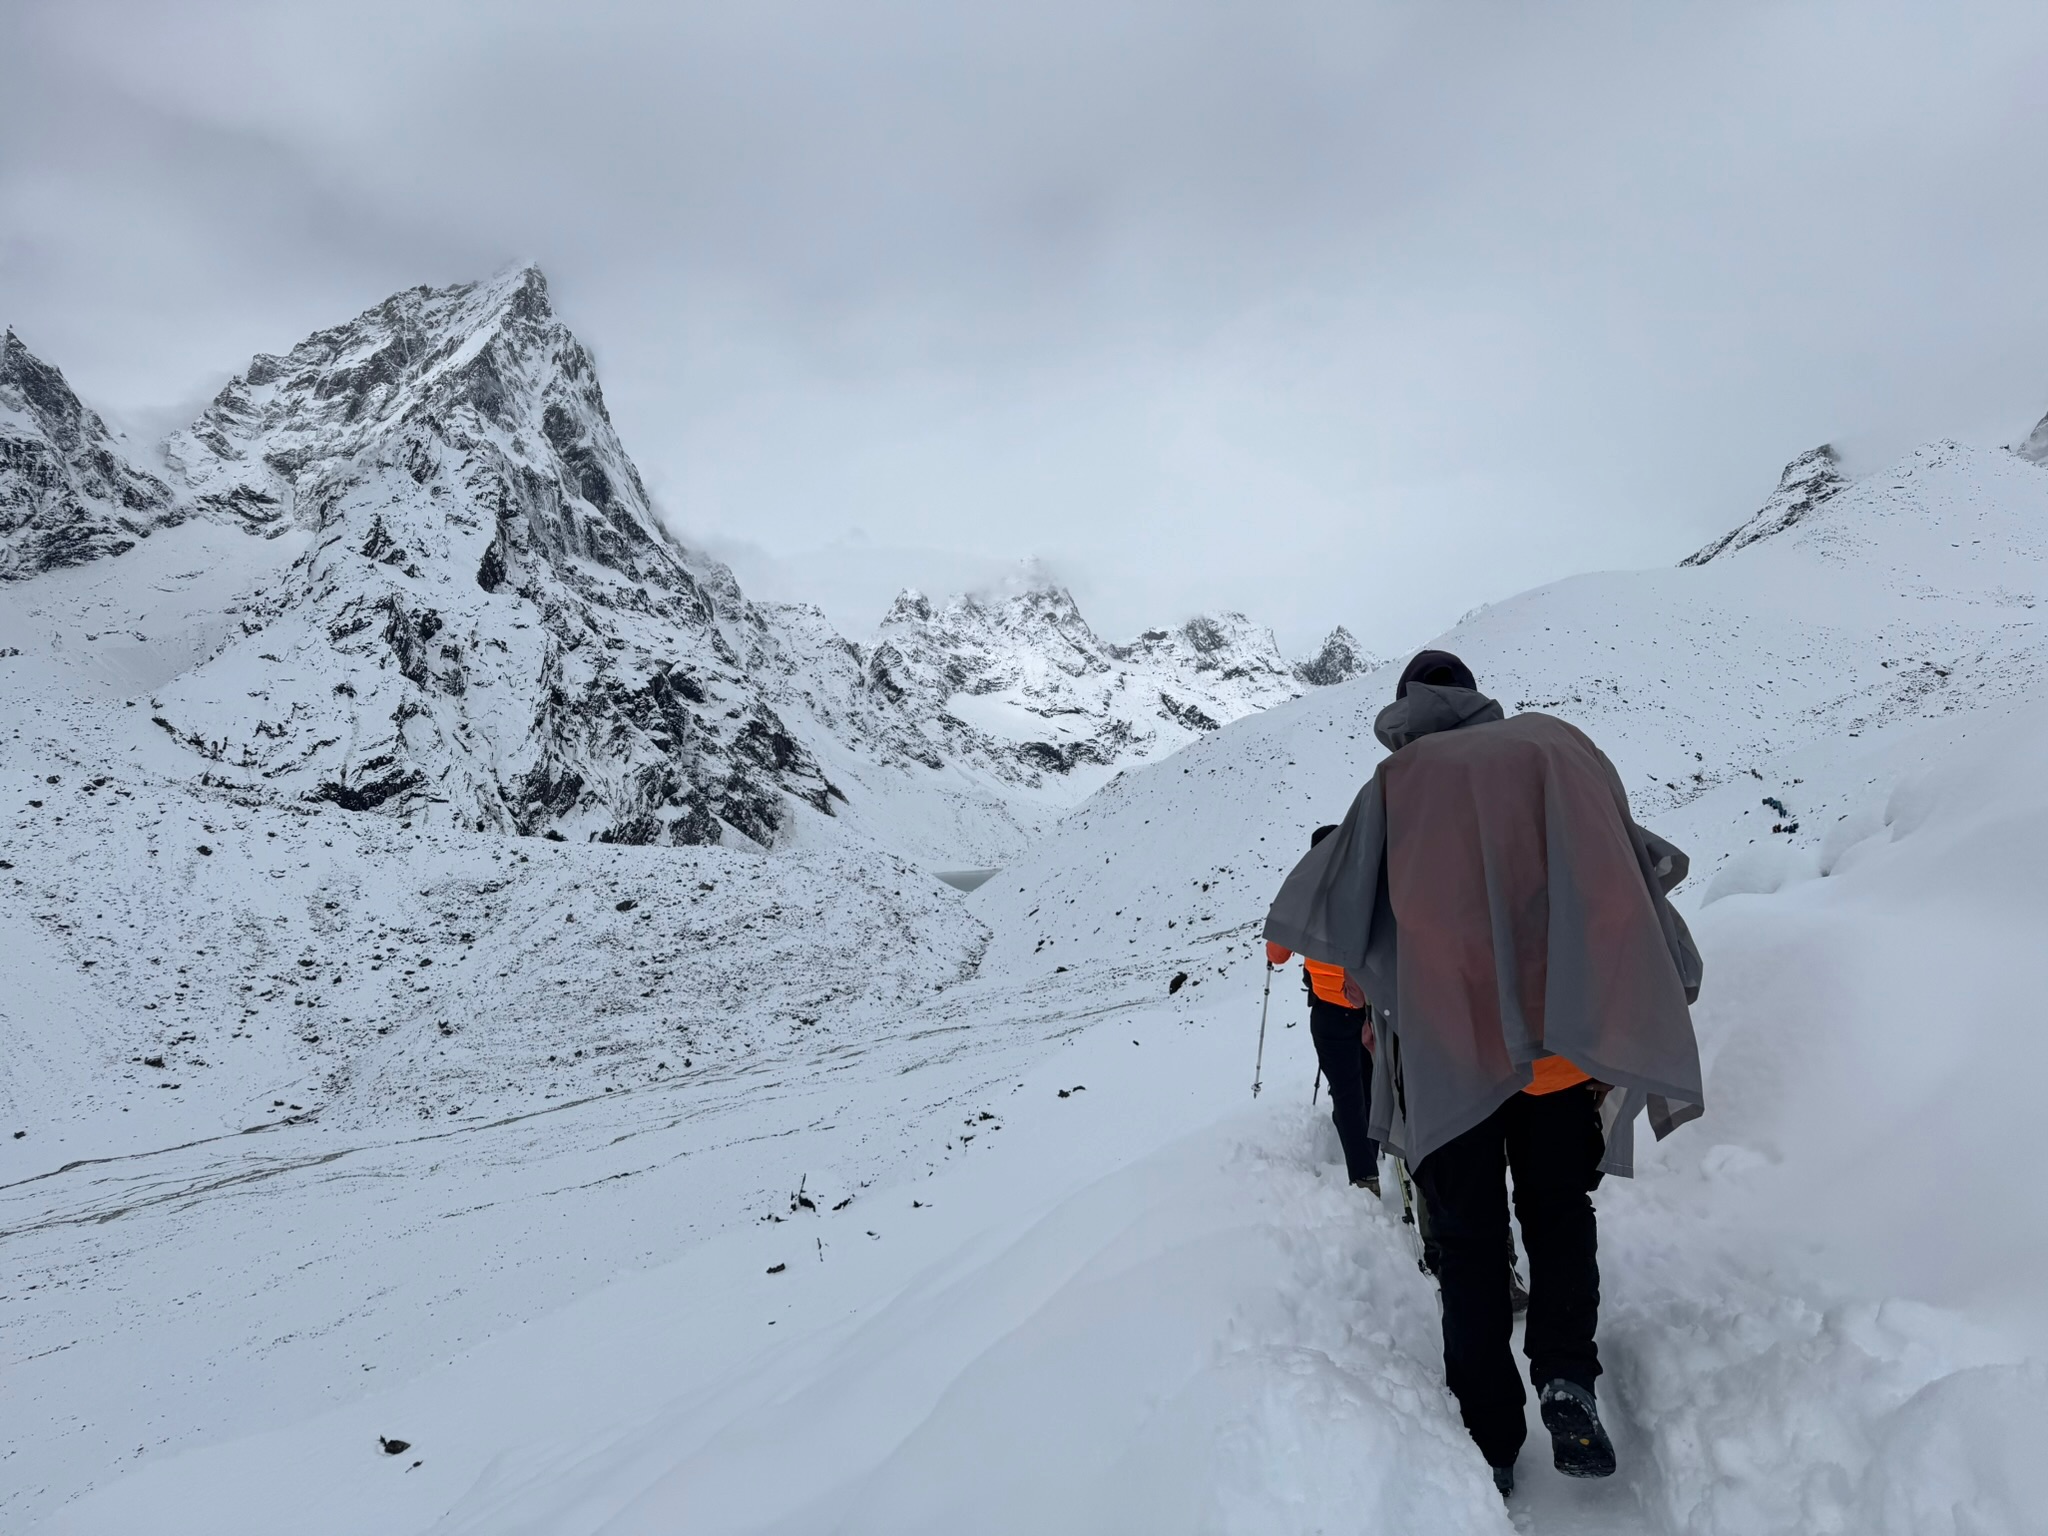 A little bit of snow never hurt anyone.
From time to time, the visibility was getting good enough for some spectacular views of the surrounding peaks.
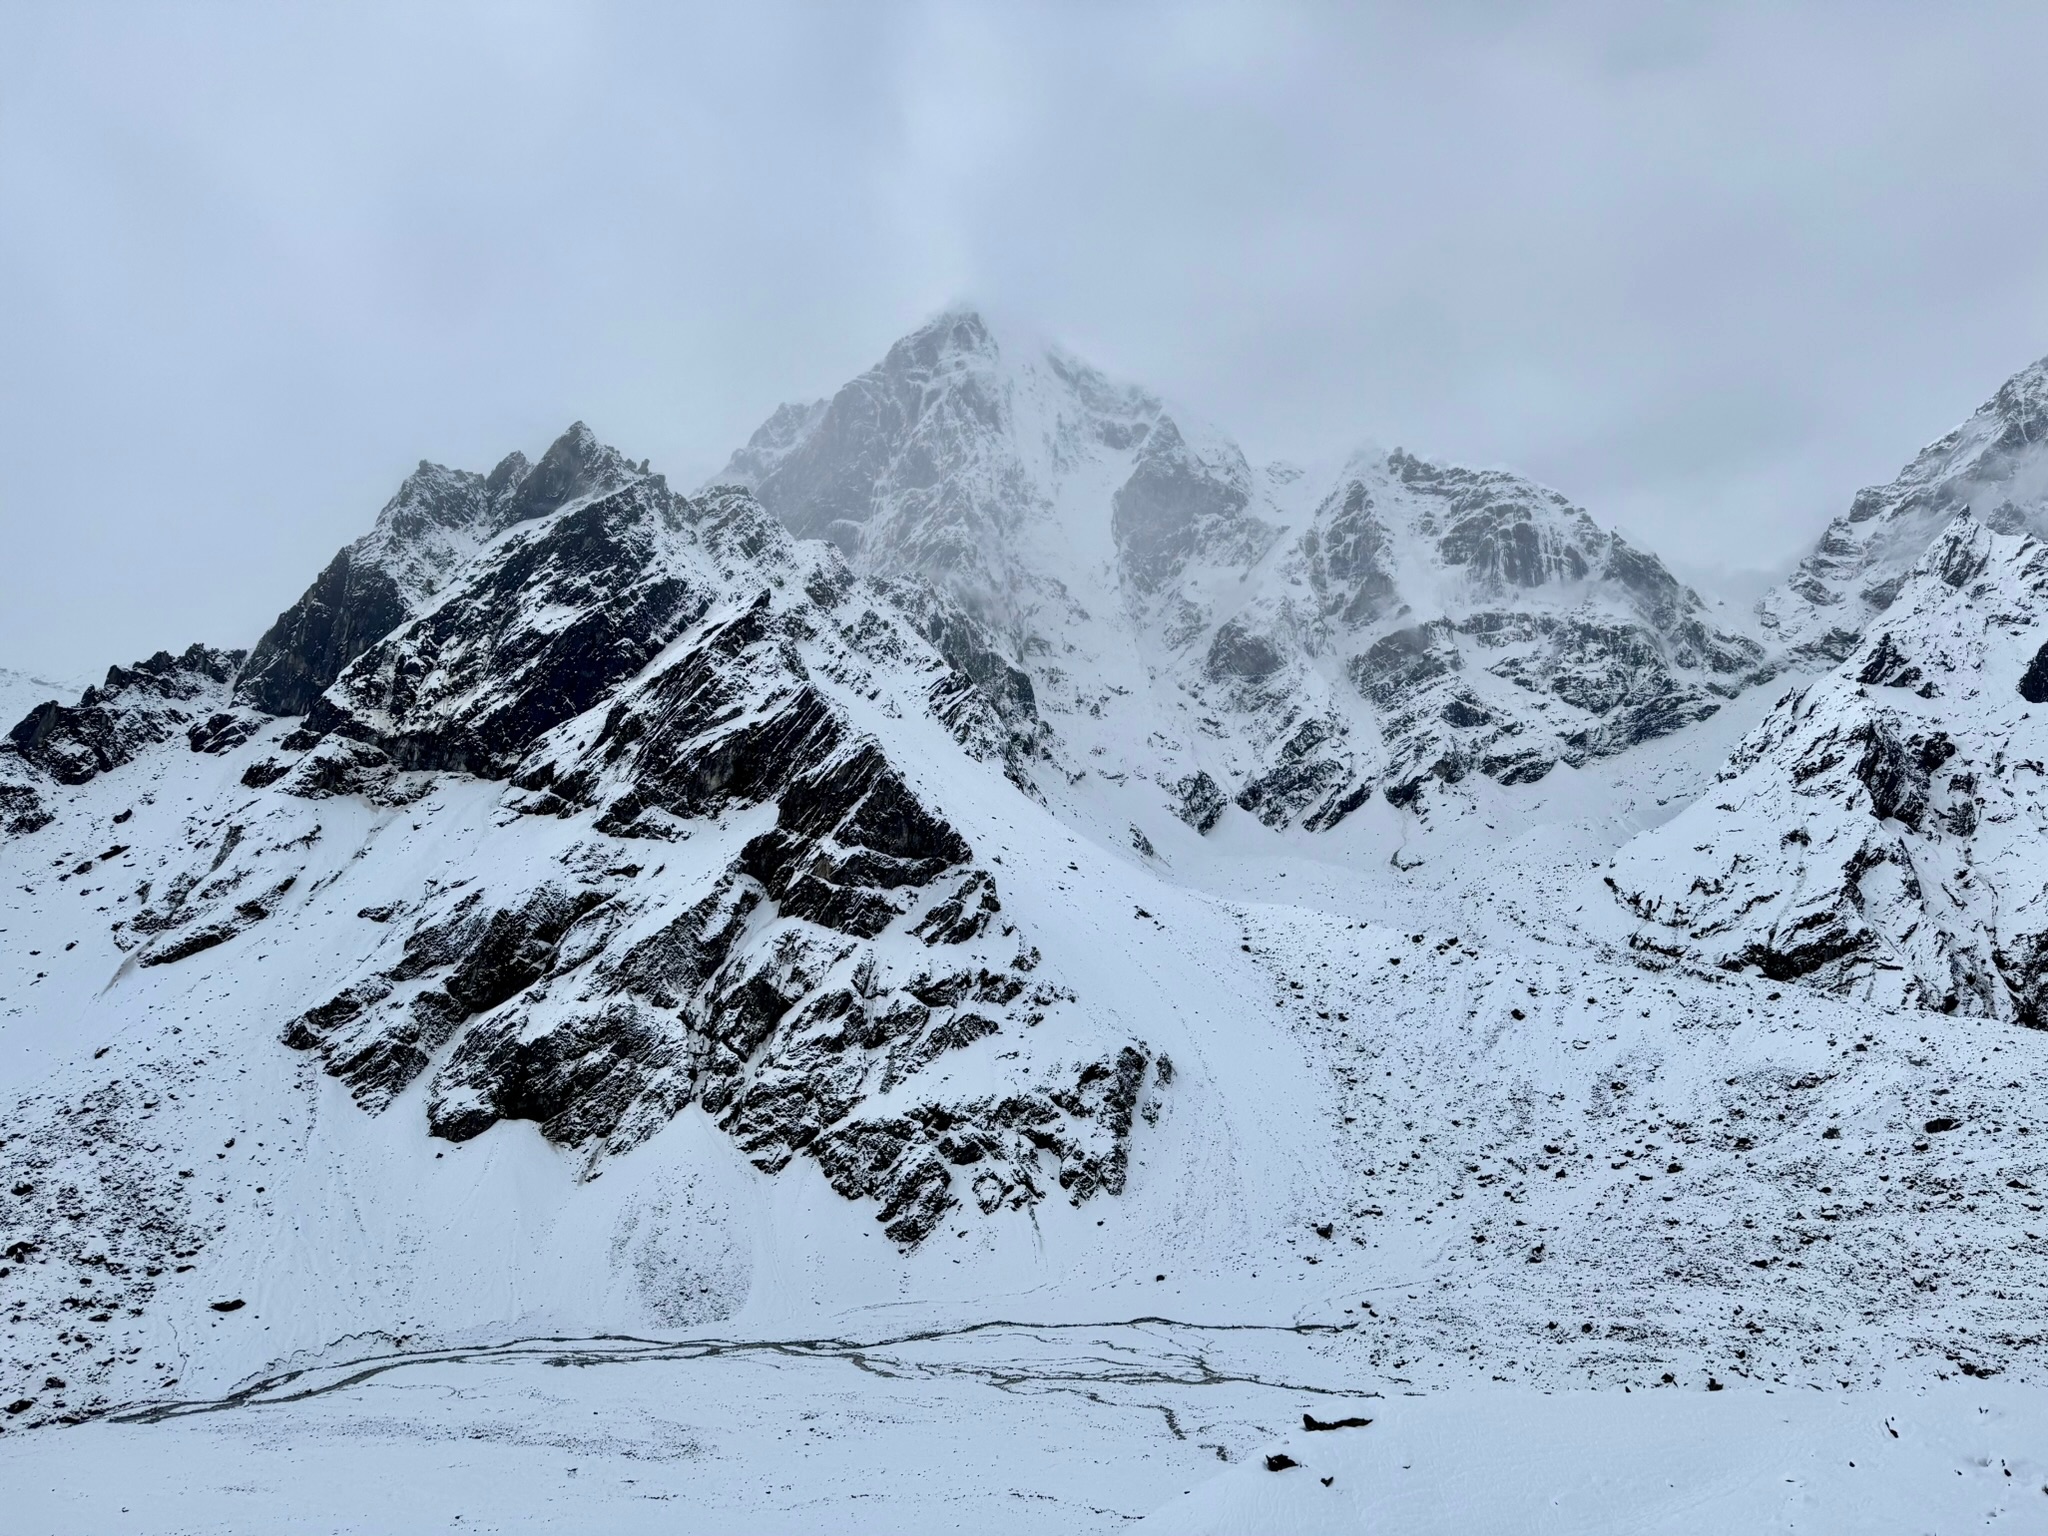 Finally, some views!
At the end of the day, everyone had to circle a yak poo-powered stove to dry their shoes and socks.
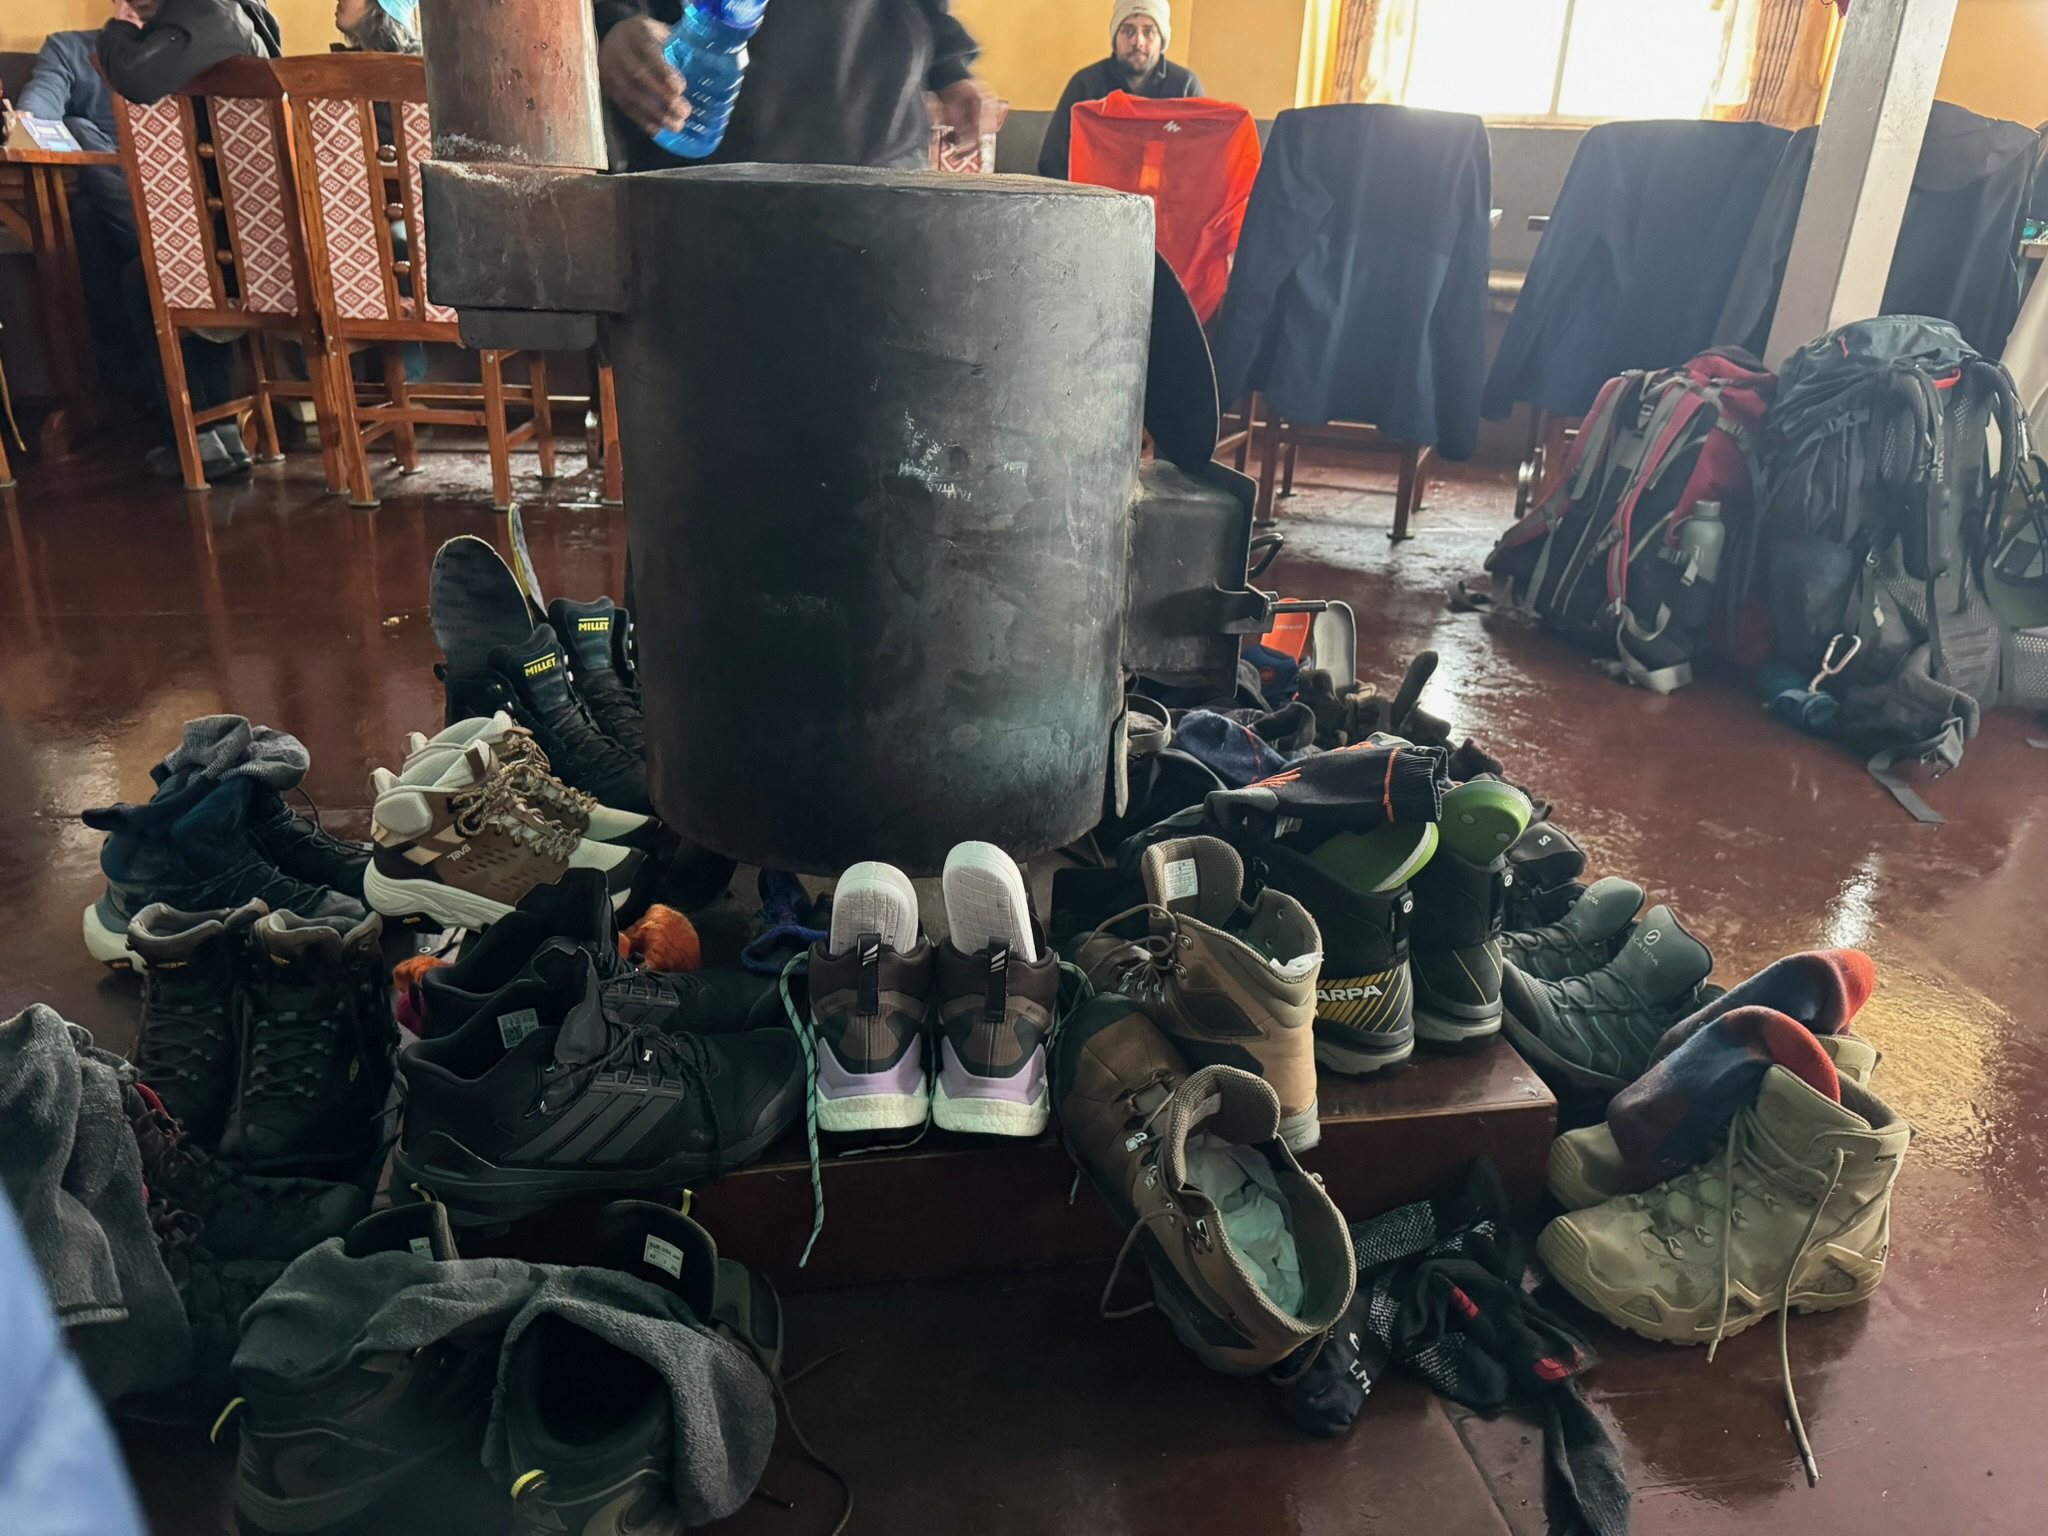 Never in my life did I expect to appreciate yak poo so much.
Day 8 - Everest Base Camp (5364 metres) and Gorak Shep (5164 metres)
Everest Base Camp day! The Elder Gods were finally kind to me, and the weather cleared up. The trek started before 6 AM, and with a short stop at Gorak Shep for lunch.
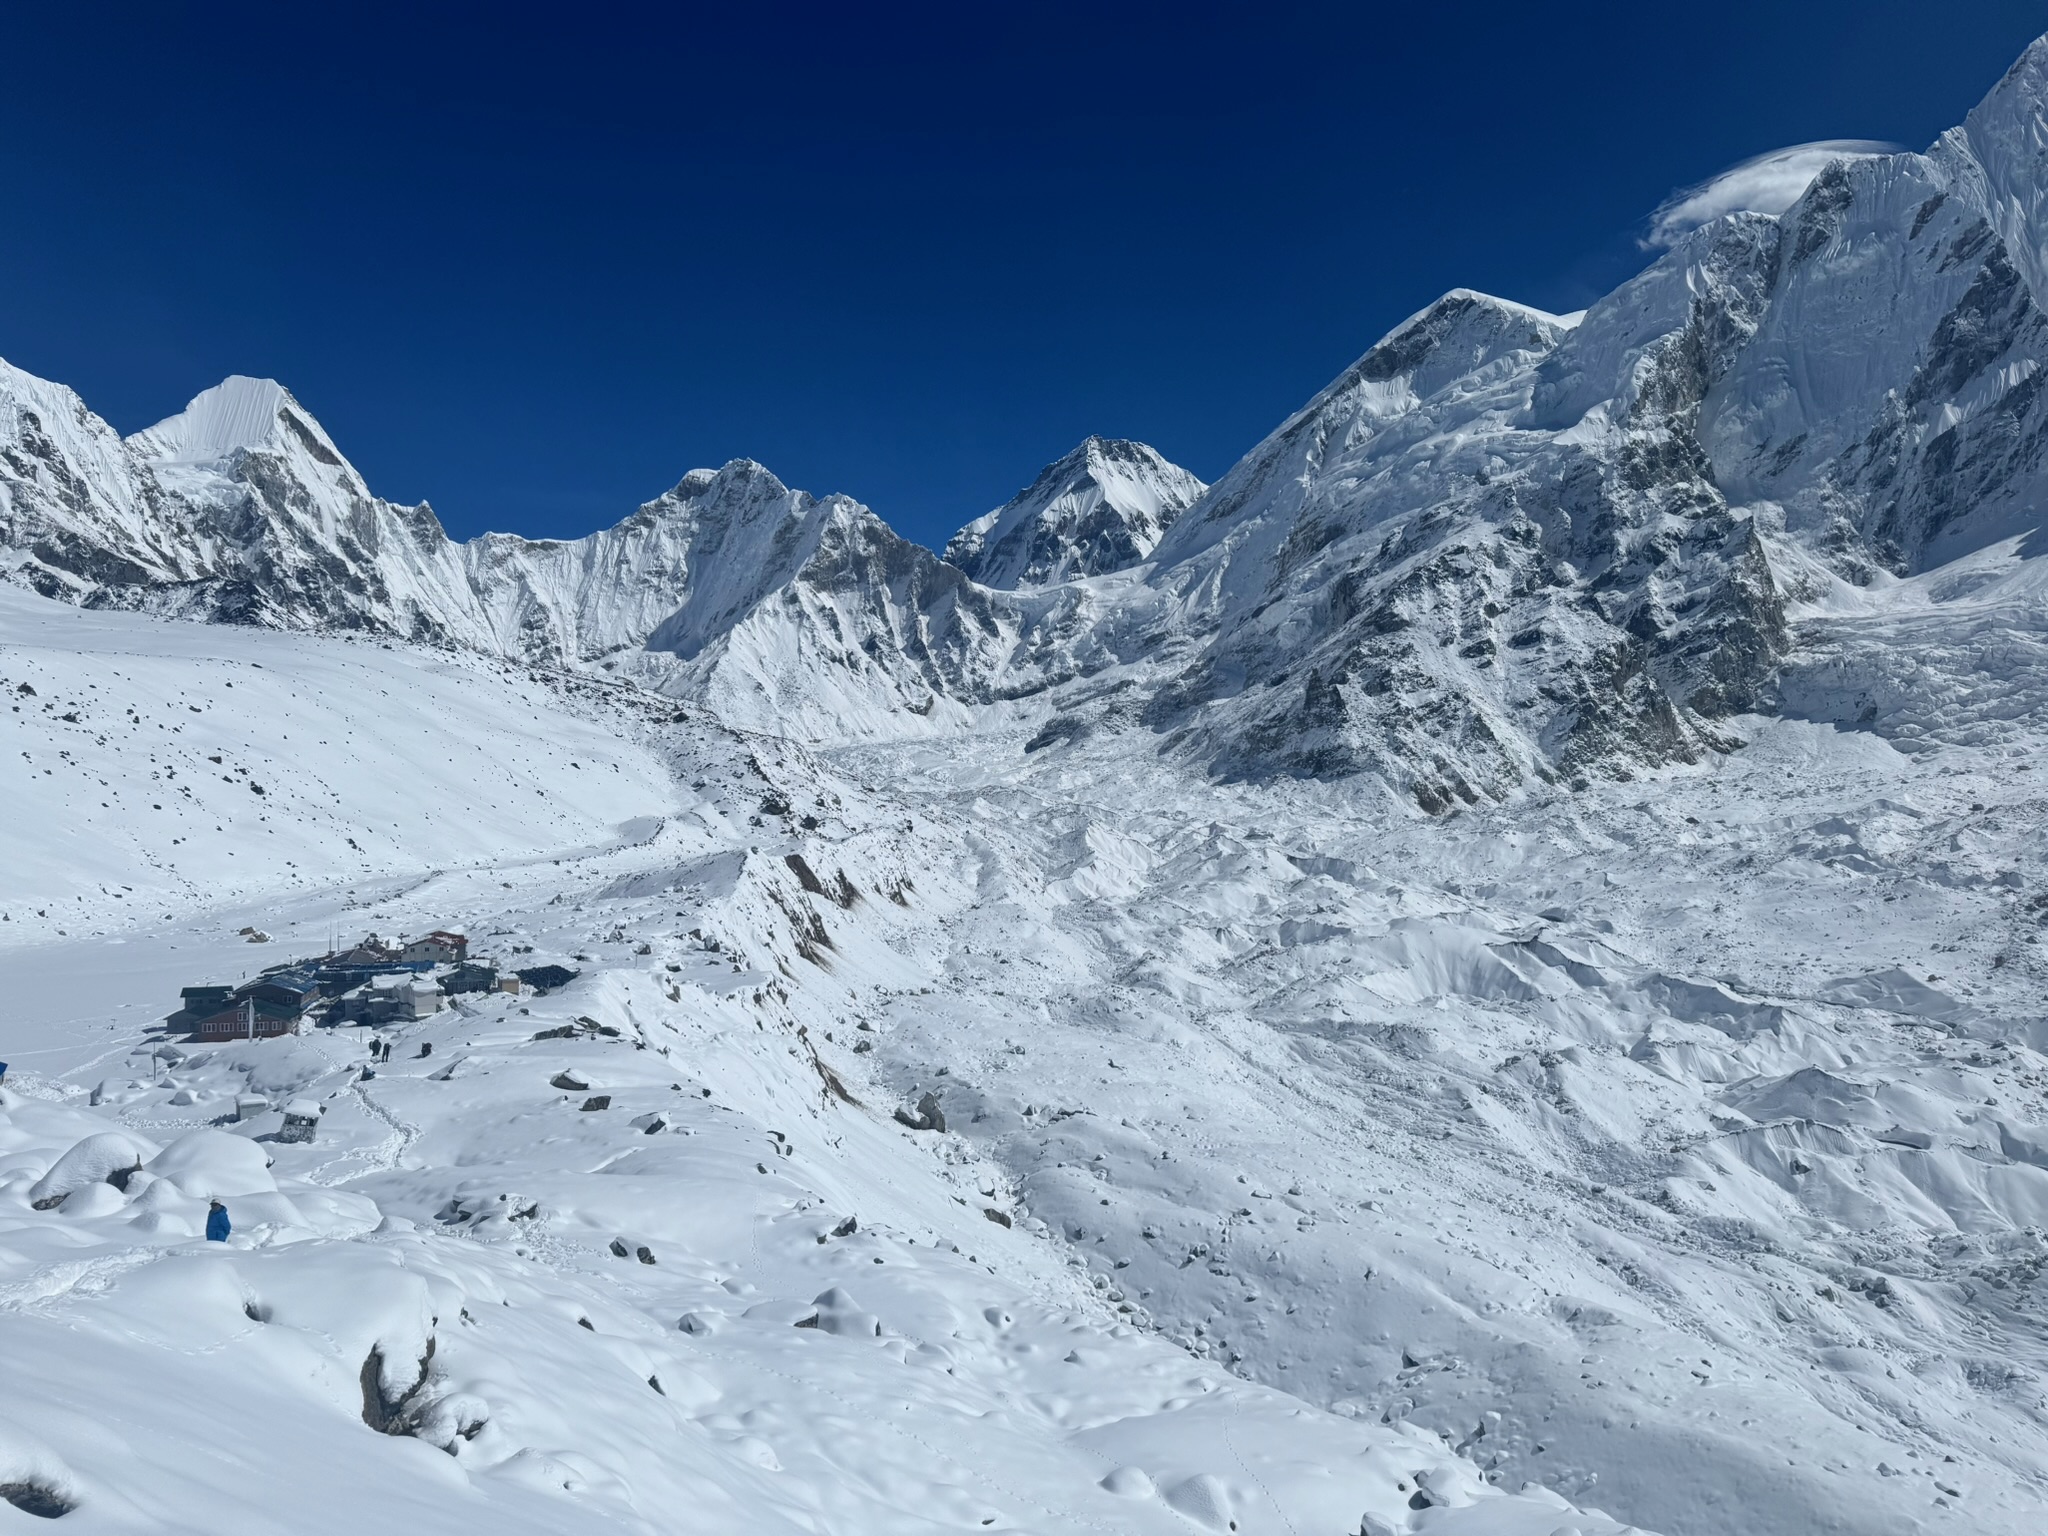 Gorak Shep
On the way, I got to see the first glimpse of Everest itself!
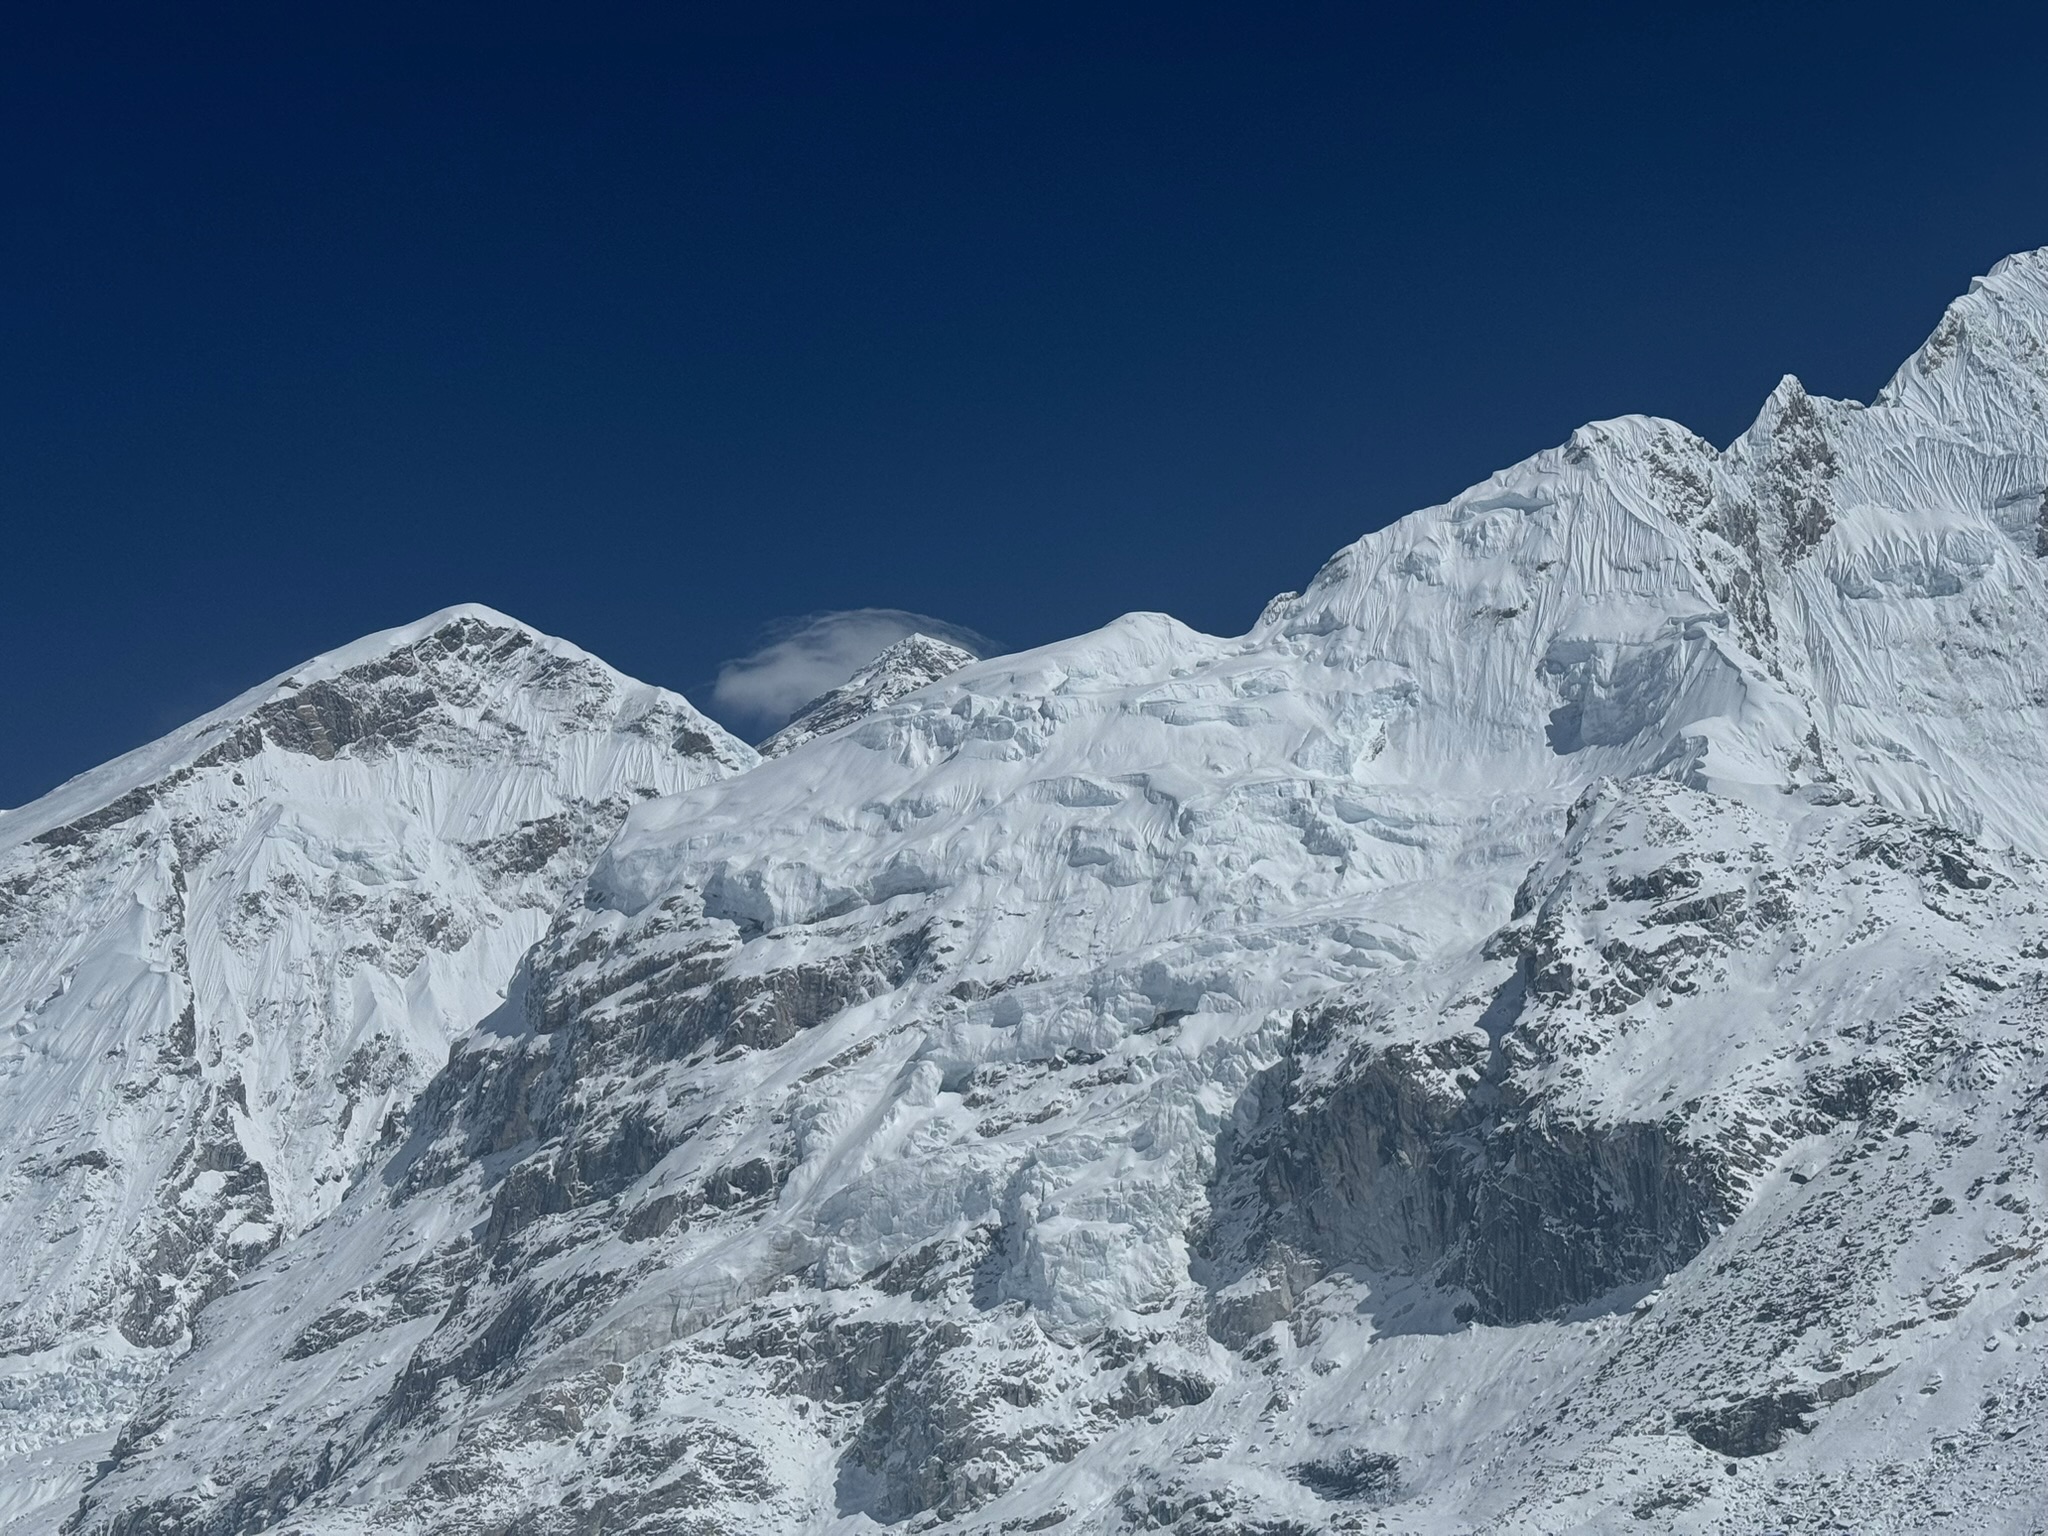 A little bit of Everest
I reached EBC (5364 metres) around 2 PM. The views of Everest and the surrounding peaks were absolutely breathtaking, making all the effort worthwhile. I no longer complained about the snow - it made the entire landscape look magical. Challenge completed!
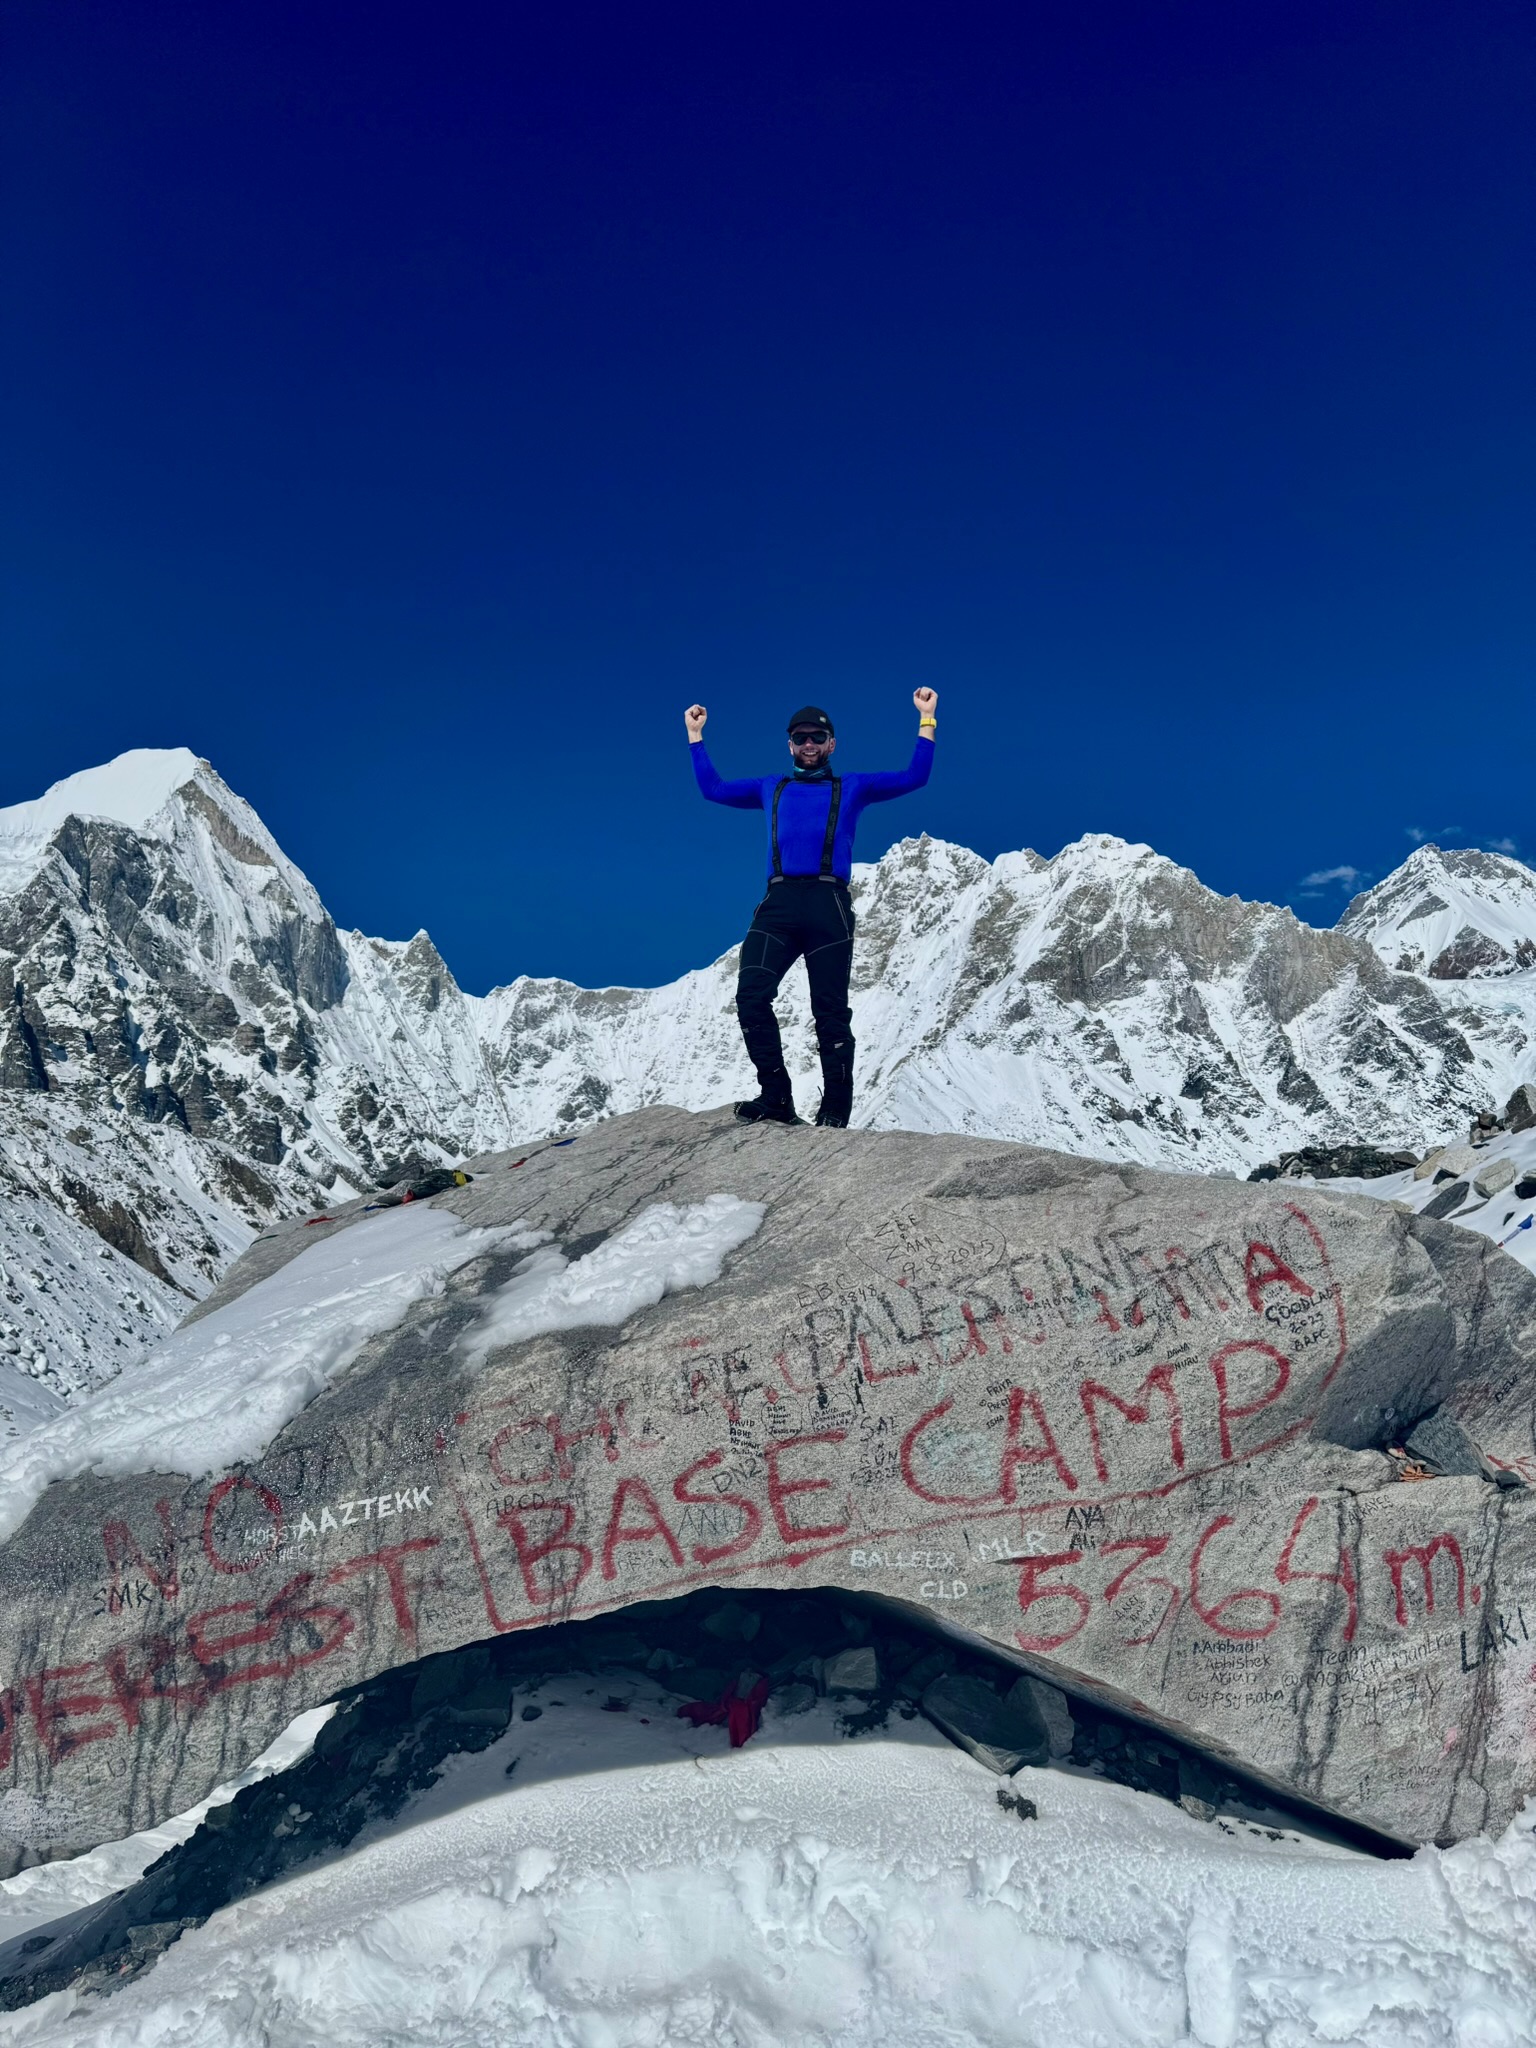 Everest Base Camp
I made it back to Gorak Shep before sunset, so I managed to snap a few photos of Everest in the golden hour from halfway up Kala Patthar (the top was cloudy and icy, so my guide advised against going all the way up).
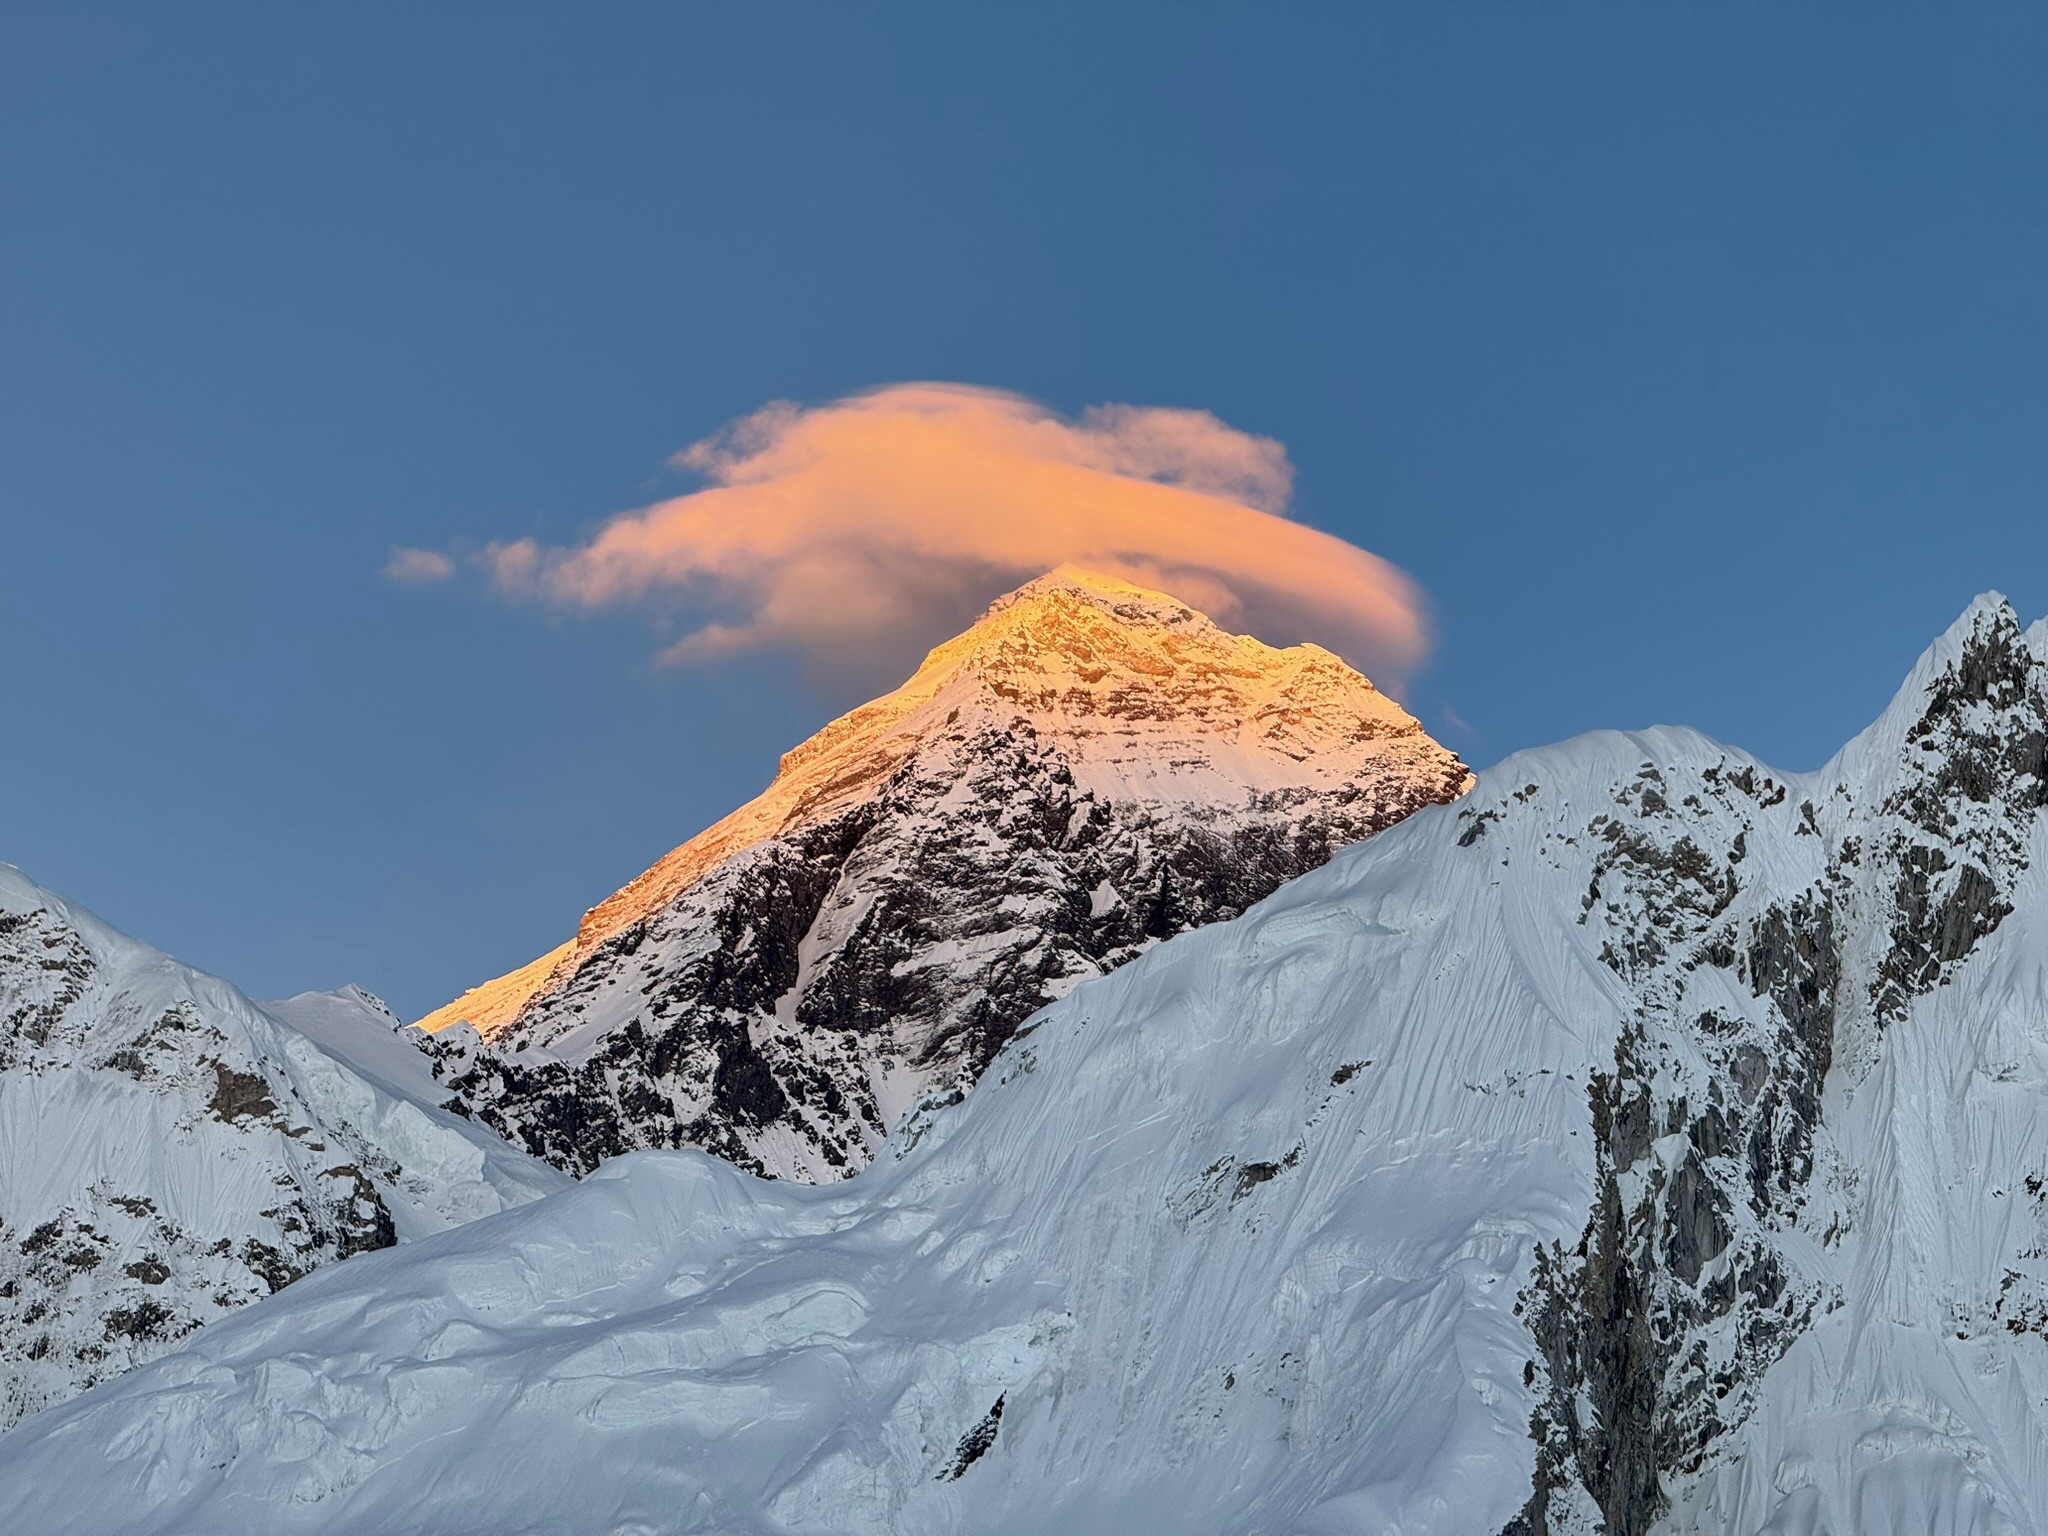 Everest at sunset from Kala Patthar halfway point
In the evening, I had to decide to either return to Lukla on foot or fly back by helicopter. The original plan was to return via Cho La Pass and visit the Gokyo Lakes, but due to heavy snowfall, this was no longer possible. I decided to take the helicopter back to Lukla, which was a bit pricey but worth it given the circumstances.
Day 9 - Lukla (2860 metres)
The next day, I flew back from Gorak Shep to Lukla via helicopter, which was an incredible experience in itself. The views from above were stunning, and it was a great way to end the trek. It was amazing to see the entire route from the air. We had to land in the middle of nowhere first so that the pilot could pick up other passengers waiting for the flight (there is a weight limit at Gorak Shep’s altitude due to the air’s thinness).
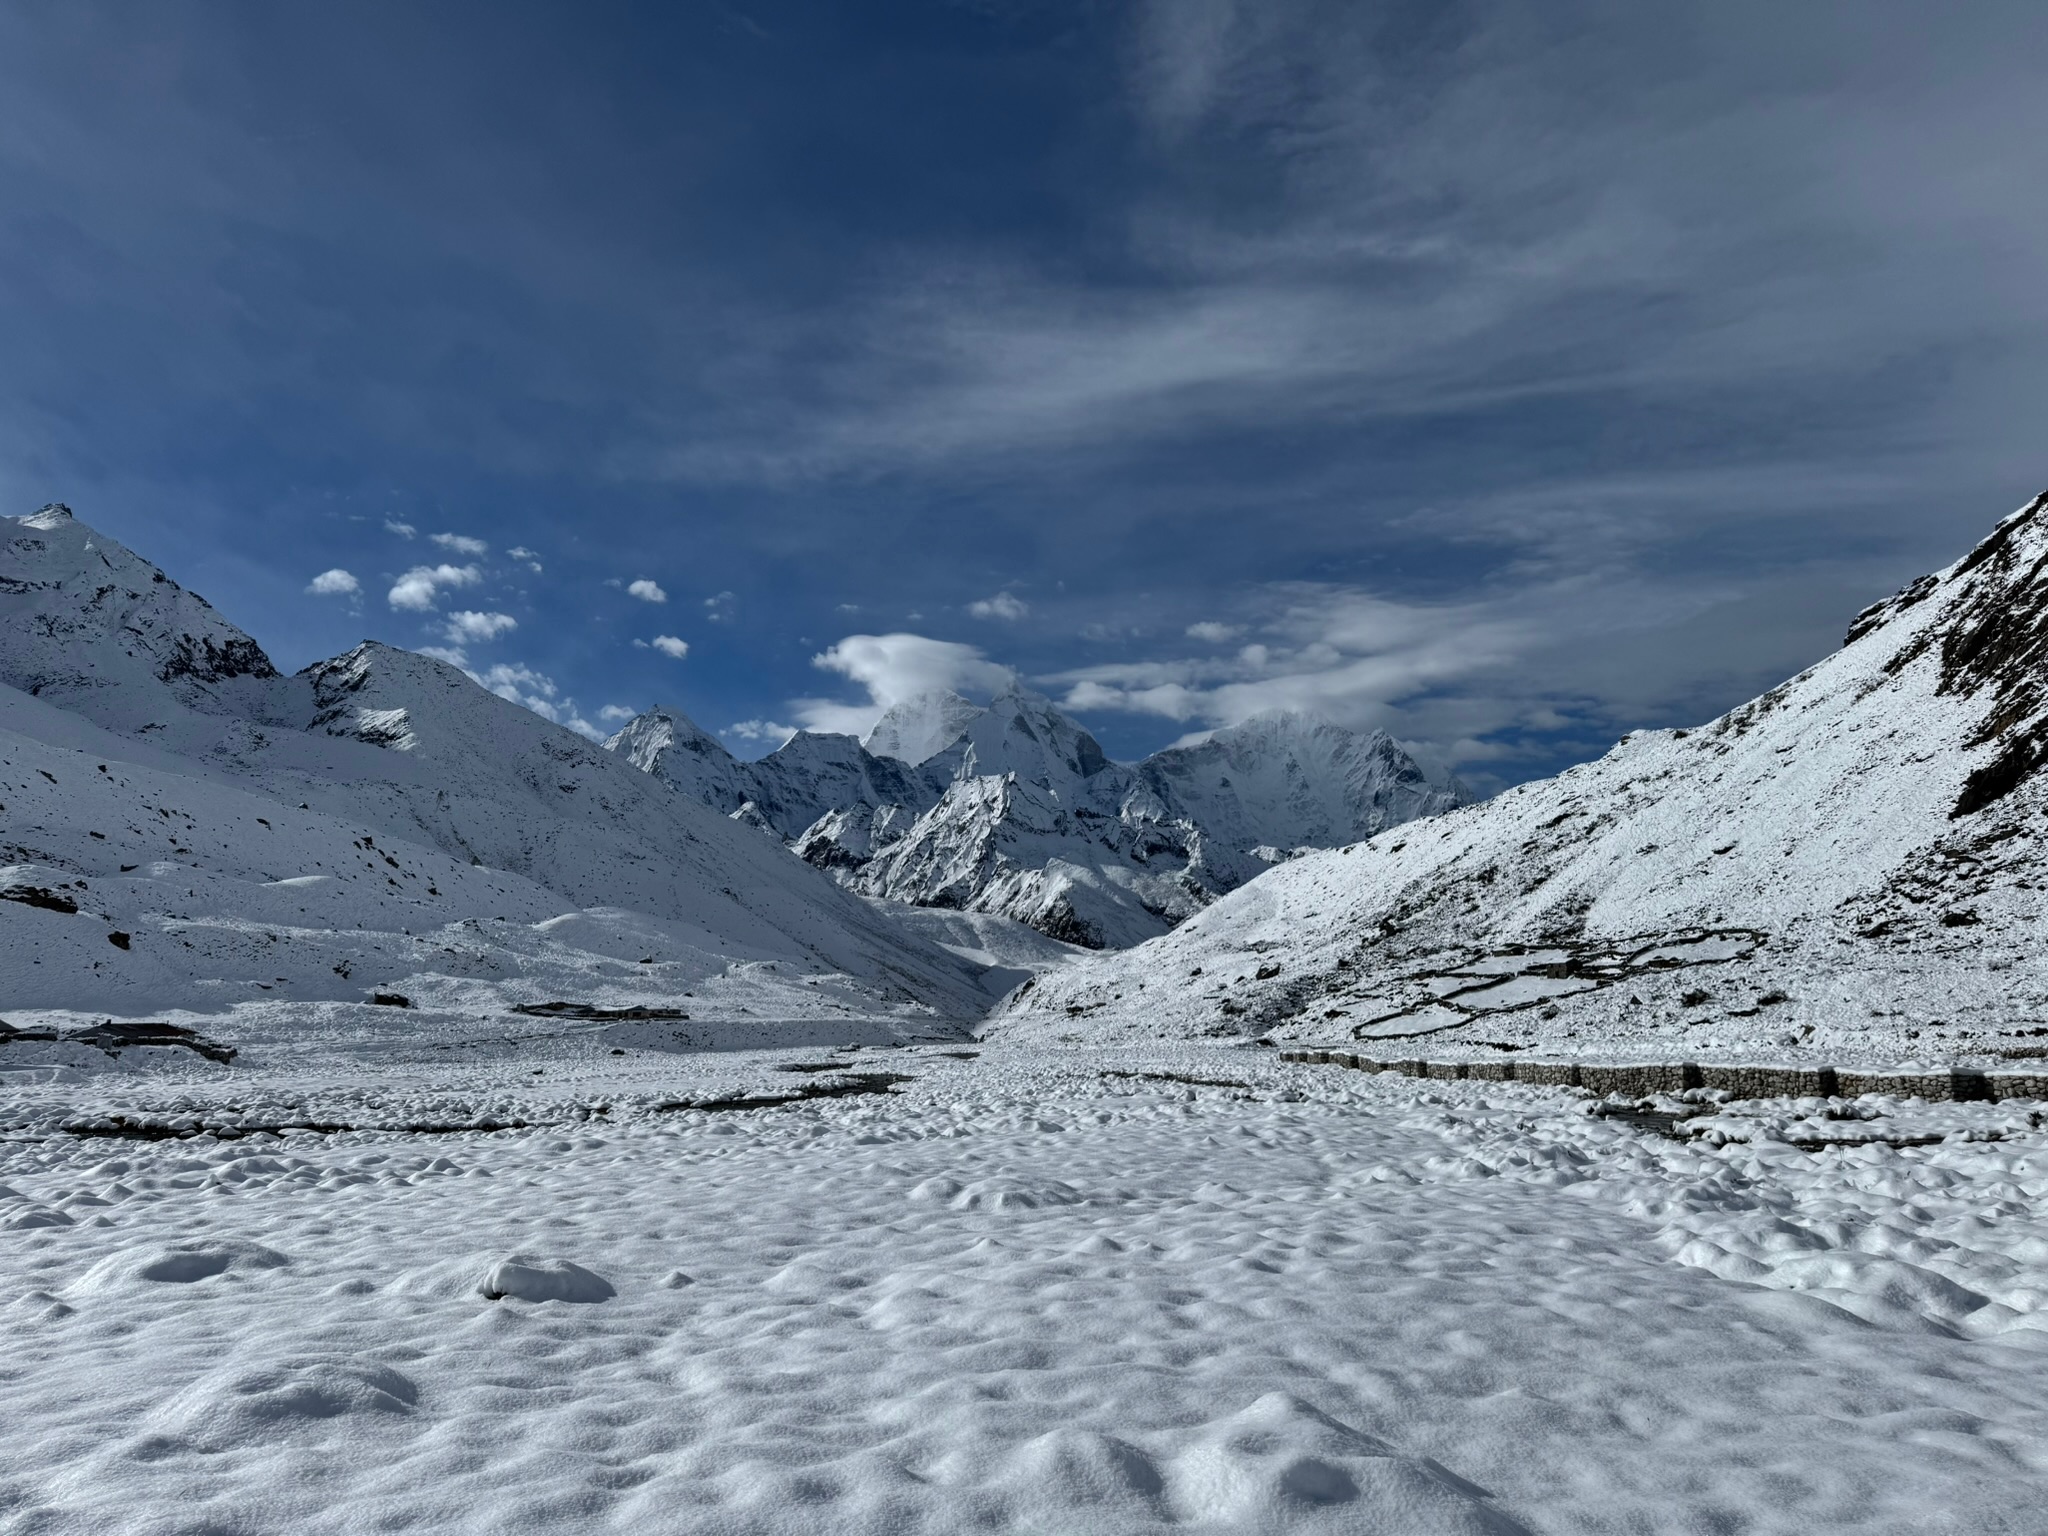 Time to say goodbye, Mountains of Madness
Standing at the helipad for half an hour before sunrise in still-wet shoes was not that fun, though! I spent the rest of the day in Lukla, recovering from the trek and enjoying some local food and beverages.
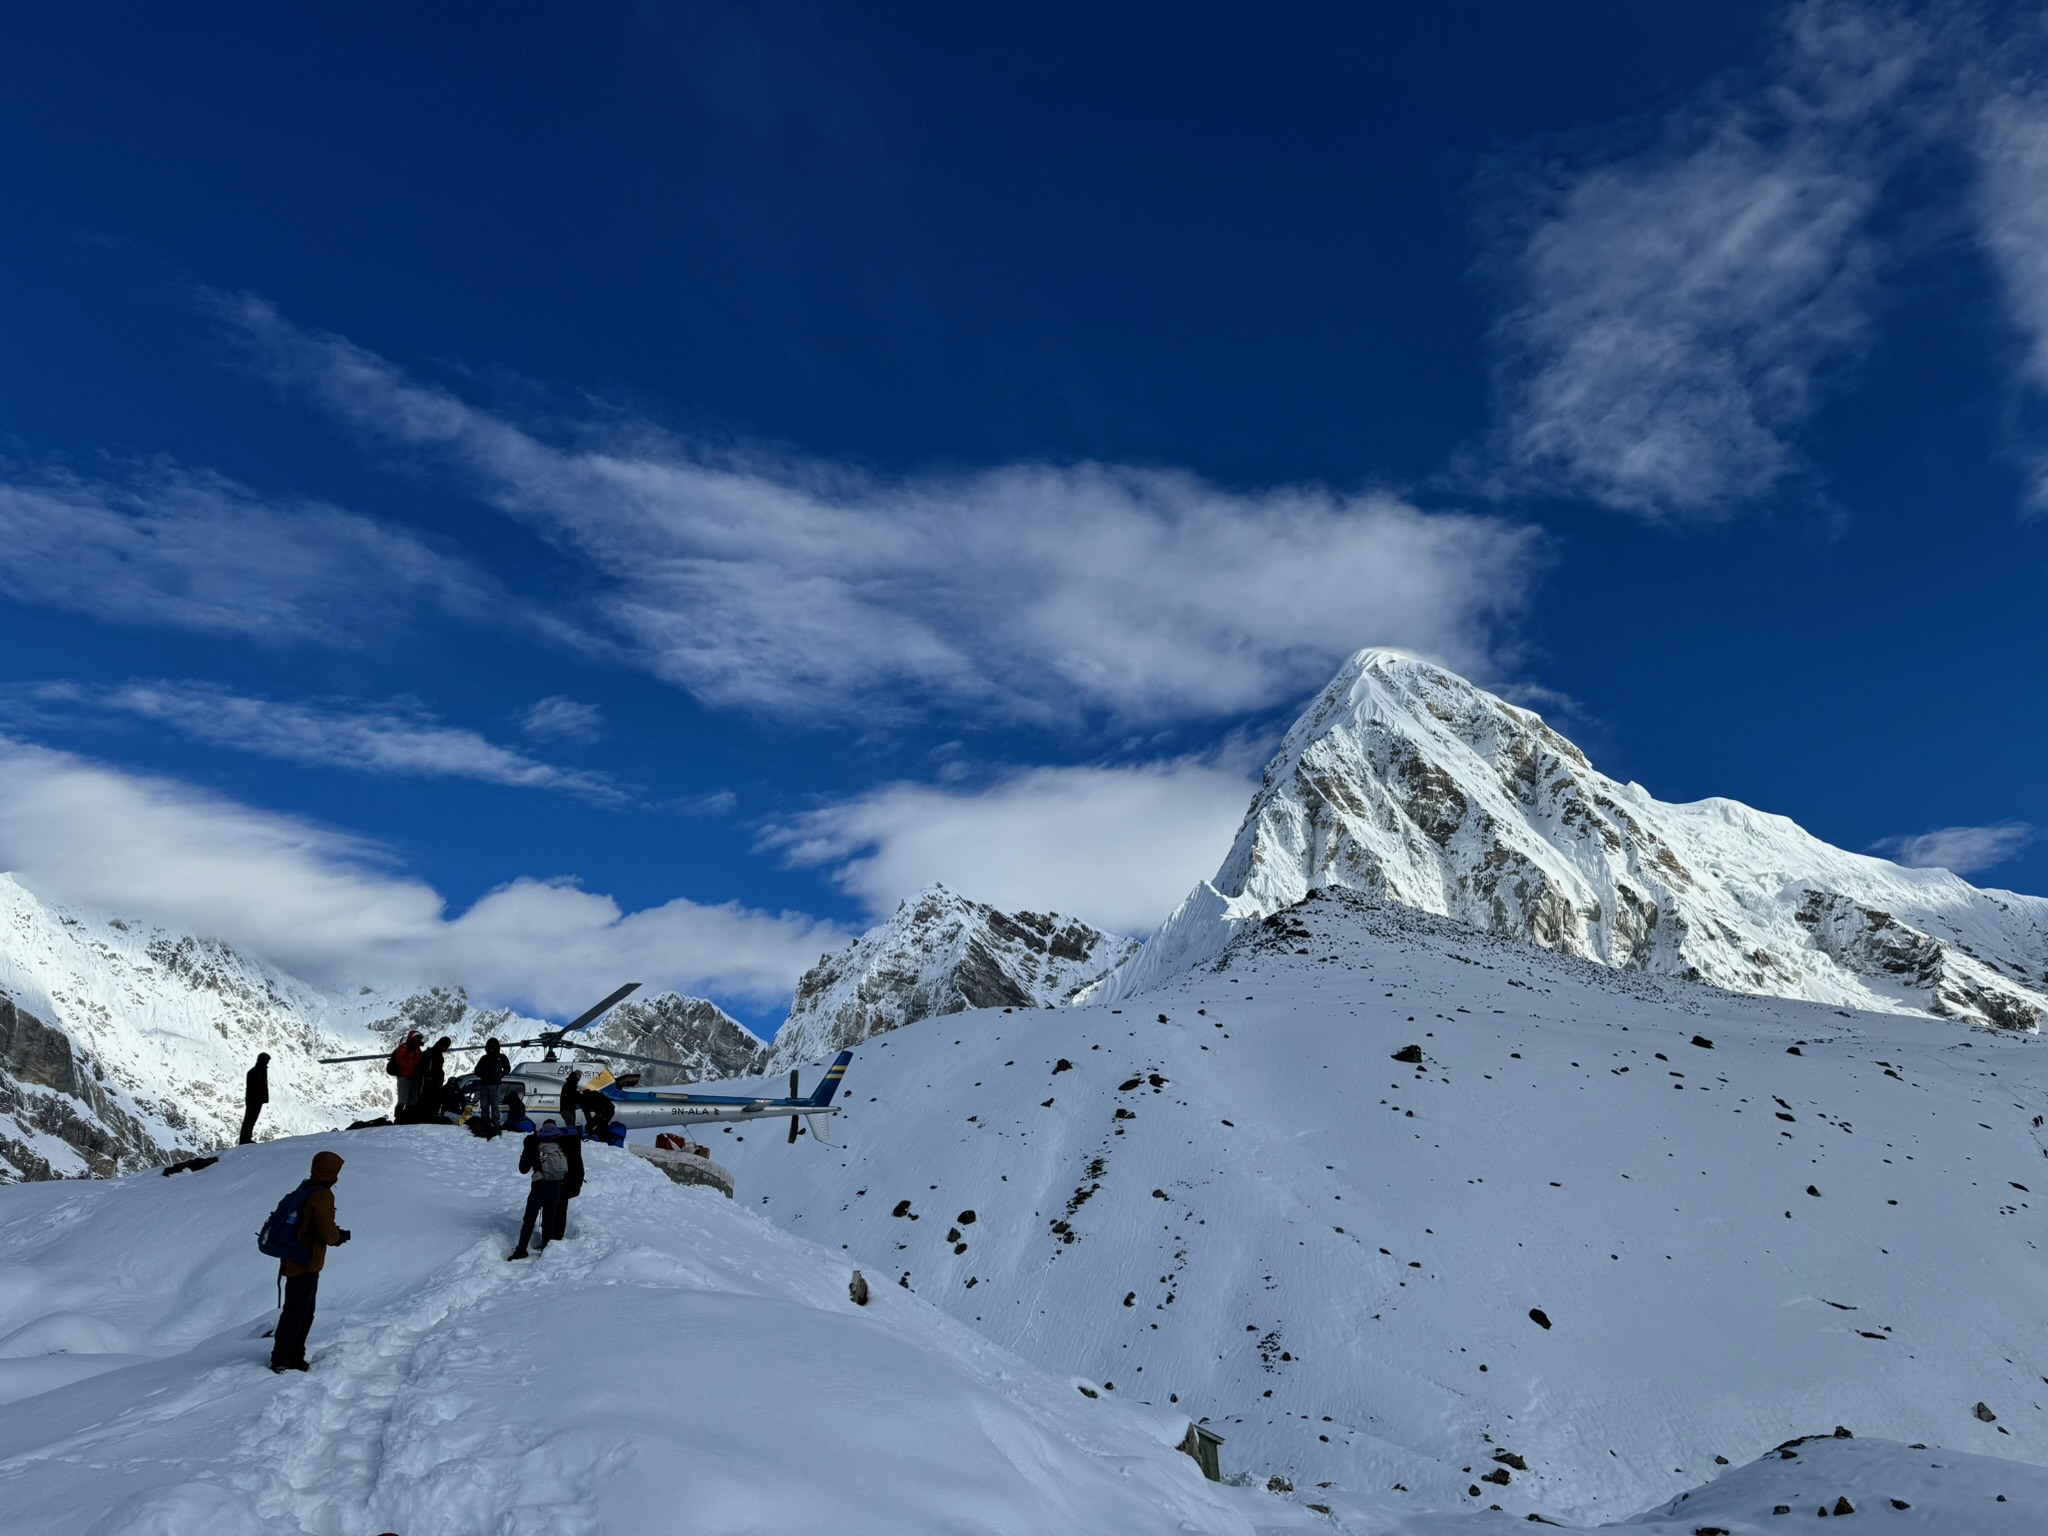 Waiting…
Day 10 - back to Kathmandu (1324 metres)
Finally, I flew back to Kathmandu the next day. Unfortunately, this time I had to fly to Ramechhap first and take a bus from there. The bus ride was quite bumpy and took a long time due to detours caused by landslides.
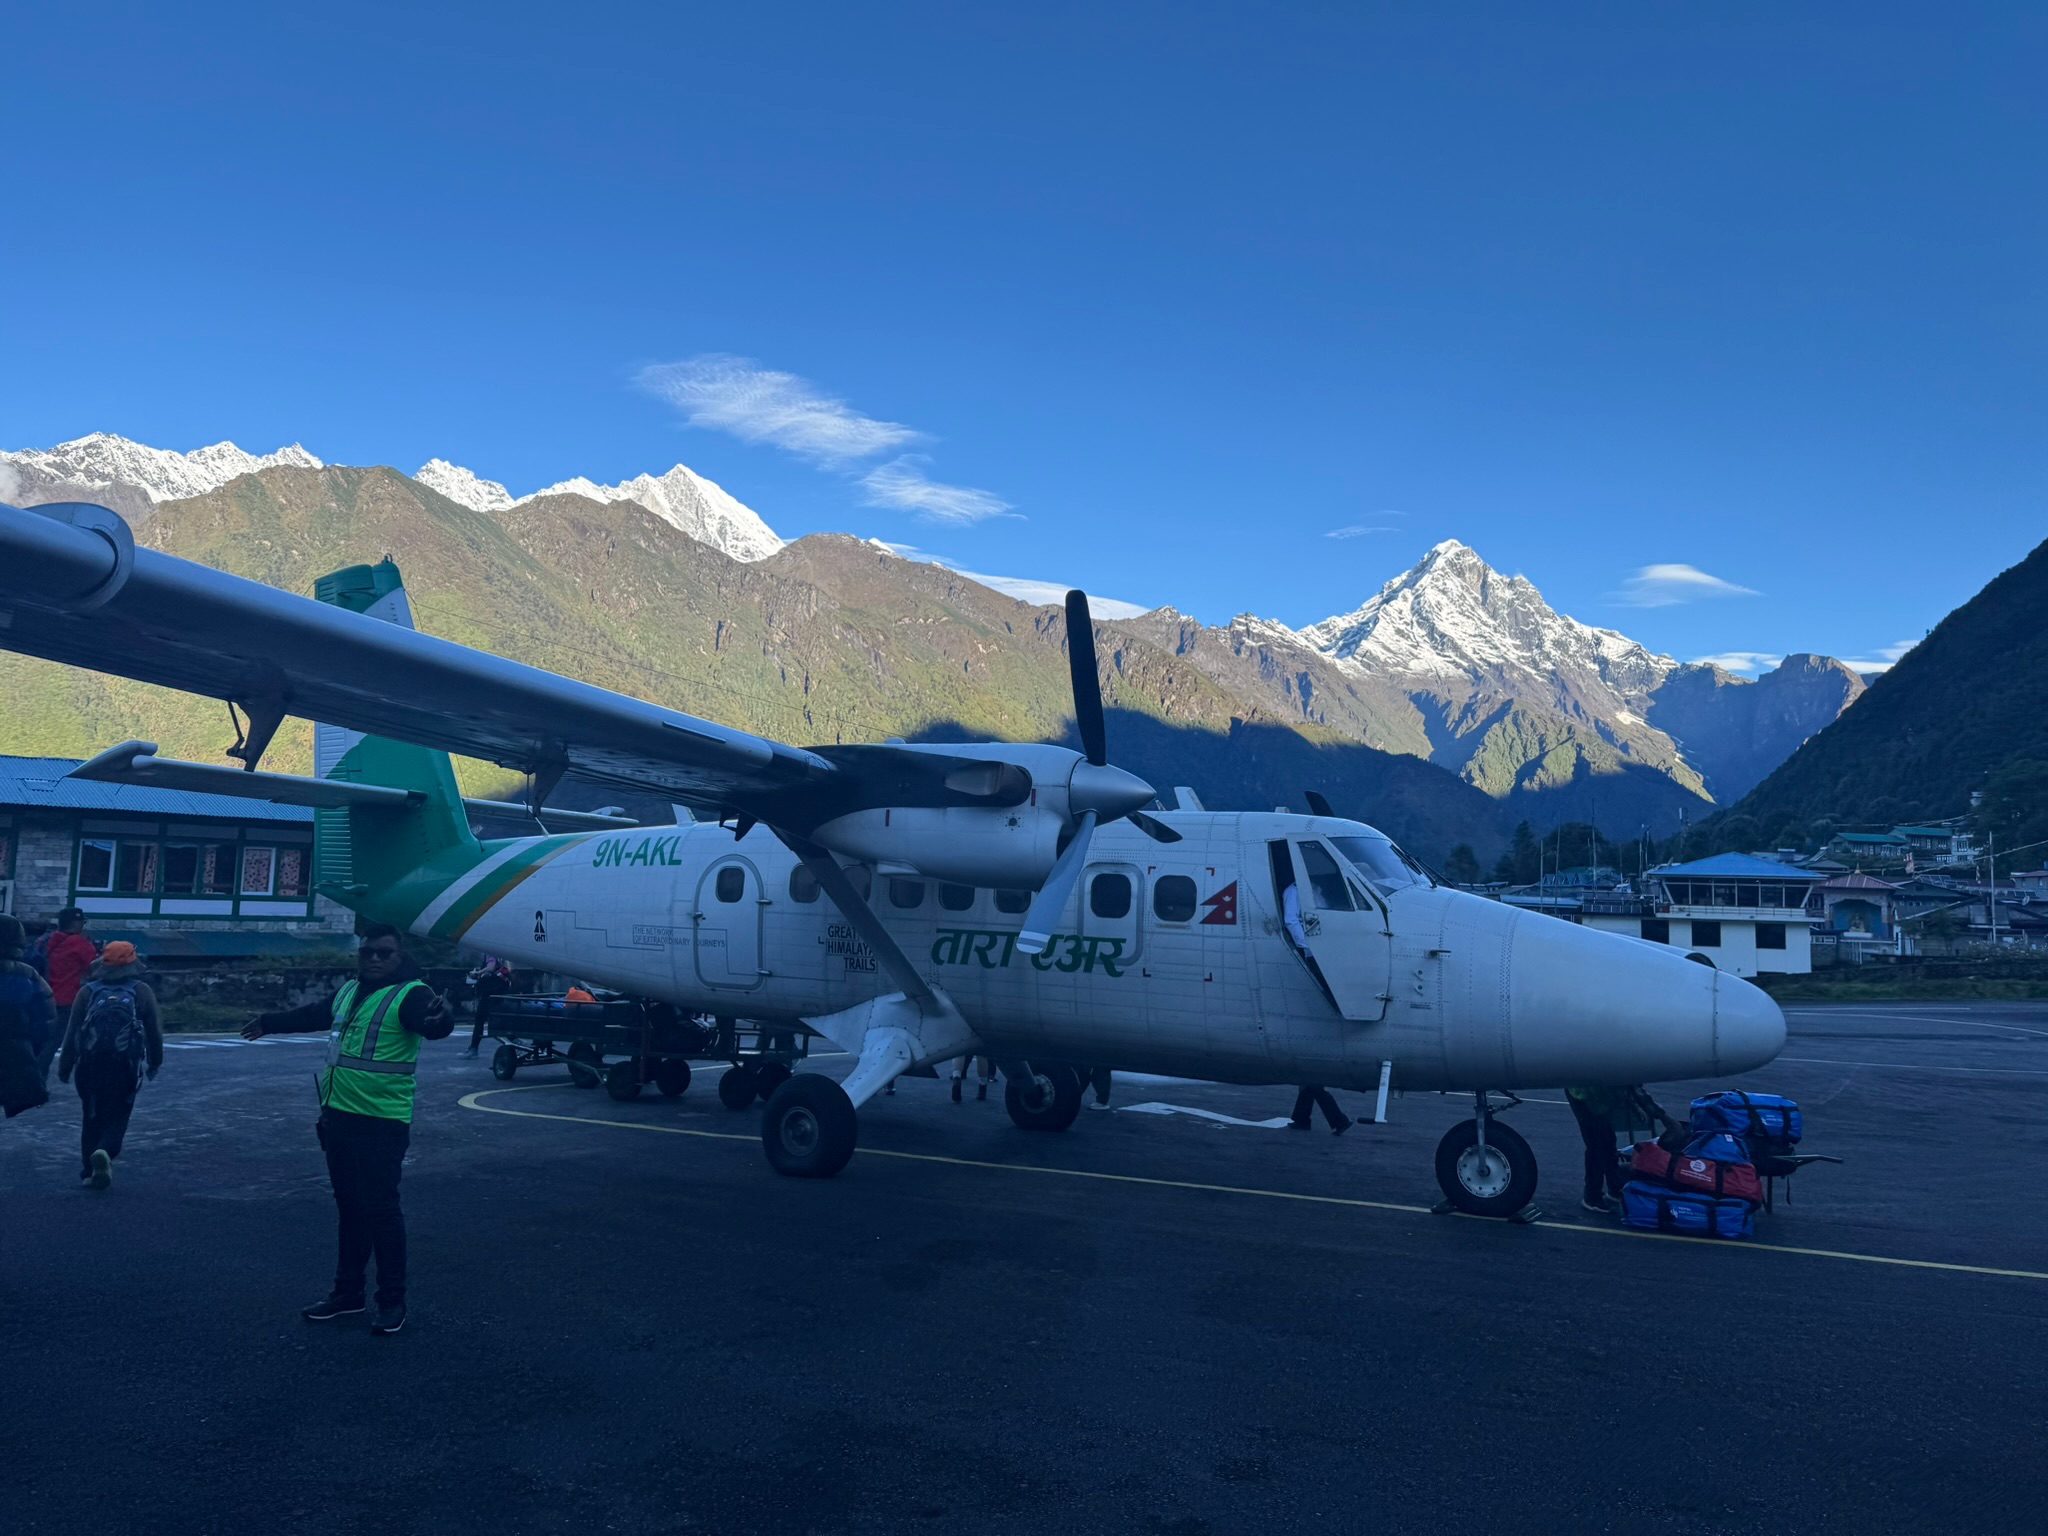 Almost back to Kathmandu
The next day, I took a street food tour in Kathmandu to try some local delicacies before heading back home. After all, what can go wrong by eating street food there just before a several-hour-long flight? Fortunately, I was fine!
Tips, takeaways, and other information
Communication with the outside world
Above Namche Bazaar, there is little to no cell phone coverage. Most teahouses offer WiFi for a fee, but the connection is often slow, unreliable, and dependent on the weather (solar panels). When the weather went bad, I had no way to communicate with the close ones back home who were reading news about How the autumn climbing season turned deadly in the Himalayas. Fortunately, one person in the group had a satellite phone, so we could at least send a message.
Below and at the level of Dingboche, you can access free WiFi if you purchase a coffee or meal at the teahouses. The connection is decent enough for messaging apps, but that’s about it.
Food
Teahouses along the route serve a variety of food, including dal bhat (a rice and lentil soup), momos (dumplings), fried rice, noodles, soups, and more. You won’t get hungry, but the food is not particularly exciting. There are some Western options as well, such as pasta or pizza, but I have never tried them. You should carry some spices with you. The quality of food deteriorates with altitude, so don’t expect Michelin-star meals at higher elevations.
Take dal bhat whenever you’re feeling hungry! The teahouses offer unlimited refills of rice and lentil soup for free, making it a great way to fuel up for the next day’s trek.
There be dragons
There are a couple of things to watch out for during the trek, I either read about or was warned about by my guide (or figured out myself):
- Yaks - as mentioned above, they will not move out of your way. Keep to the side of the trail (the uphill side) and step aside when you see one coming.
- Meat - most teahouses serve meat, but it’s sometimes transported by humans or yaks and might not be fresh. It’s best to stick to a vegetarian diet during the trek.
- Water - purifying tablets and/or a good filter do the trick. Most people buy bottled water, but it’s quite expensive (still cheaper than at airports) and generates a significant amount of plastic waste.
- Cash - be sure to have enough cash with you. There are ATMs up to Namche Bazaar (and I think in Dingboche, but the weather was so bad that nothing worked). Paying by card usually incurs a fee (up to 10%!) and is not always possible (if there’s no connectivity).
- Close the bottles - the teahouses are heated mainly through yak poo-powered stoves. You want to avoid contaminating your water bottles or other containers.
- Hygiene - hand sanitizers and wet wipes are your friends. The teahouses might not have the best hygiene standards, so it’s best to be cautious. You don’t want to get sick during the trek. Additionally, at higher altitudes, wet wipes may be your only option for personal hygiene.
- Altitude sickness - as mentioned below, be aware of the symptoms of altitude sickness and take necessary precautions. Apparently, garlic soup helps!
- Sunburn - the sun’s rays are stronger at higher altitudes, so make sure to apply sunscreen regularly and wear a hat and sunglasses. A LOT OF SUNSCREEN, especially on the nose. (that’s the part I figured out the hard way)
- Cold - temperatures can drop significantly at night, especially at higher elevations. Bring warm, comfortable clothing and a decent down sleeping bag. My guide also suggested wearing a woolen hat to bed to keep warm (the head sometimes slips out of the sleeping bag).
Necessary preparations
You should be able to walk for several hours a day on uneven terrain without difficulty. Your trekking shoes should be well broken in to avoid blisters. Also, don’t skip the leg day. Other than that, no special preparations are necessary. I play squash a few times a week, and that’s been sufficient for me.
Necessary equipment
Don’t pack your shoes in your checked luggage! It might get lost or delayed, and you don’t want to trek in a brand-new pair of shoes that aren’t broken in yet. Attach them to your carry-on backpack instead, along with any other essential gear that might be expensive to replace, such as sunglasses or a down jacket.
There are plenty of lists online on what to pack for such a trek. The most essential items that are sometimes overlooked are:
- crampons (for icy paths) - this was indispensable on my trek to EBC in October, especially after the sudden snowfall. People without crampons were slipping and sliding all over the place. Up to around Dingboche, you should be able to buy them on site if you forget them. Fortunately, I had mine with me from a previous trip.
- Gaiters - these are very useful to keep mud, snow, and small stones out of your shoes. Most people don’t use them, but I found them very useful. Still, don’t expect them to keep your feet dry in deep snow!
- Water-resistant shoes - depending on the season, you might encounter a lot of mud, snow, or even small streams crossing the path. Waterproof shoes will make your life much easier and save you time in the evenings by not having to dry your shoes. Note that they need to be highly water-resistant. Mine certainly were not!
- Good quality rain jacket - the weather in the mountains can be unpredictable. If your jacket is nearing the end of its life, consider replacing it before the trek. I didn’t have one and had to buy a new one on site.
- Vitamins and magnesium supplements - to keep your energy levels up and avoid cramps. You might not be getting all the necessary nutrients from the food available on the trek.
If you are trekking with a local agency, they will likely provide you with a duffel bag, a down jacket, and a sleeping bag for the duration of the trek. I prefer my own equipment, but it’s a good option if you don’t want to invest in all that gear just for one trek.
There is a weight limit for the luggage if you are flying to Lukla (15 kg, including your carry-on). Pack light and only bring what you really need. You can always purchase items on site if necessary (but please don’t overburden your porter!).
Altitude sickness
This is a serious concern when trekking in the Himalayas. Most people in my group experienced some symptoms of altitude sickness, such as headaches, nausea, or dizziness. Most also took Diamox (which has some side effects on its own). Personally, I only experienced a mild headache above 5,000 metres (I didn’t take any medication; I’ve already completed a higher-altitude trek in the past and managed okay without it).
My guide recommended eating lots of garlic soup. I did eat a lot of them and like garlic soup anyway! Additionally, drink plenty of water and avoid alcohol during the trek.
Interestingly, both this guide and my previous one (on a Kilimanjaro trek) were mildly opposed to taking Diamox preventively.
Insurance
Watch out! You might think that you bought a decent high-risk insurance policy, but some, e.g., Nationale Nederlanden, have an explicit clause excluding coverage for the Himalayas. I used AXA Travel Insurance (also recommended by my trekking agency).
Tipping
The tipping culture unfortunately exists in Nepal, and it’s expected to tip your guide and porter at the end of the trek. It’s expected to tip around 10-15% of the total cost of the trek.
Other costs
Apart from the trek cost itself and tips, there are some other expenses to consider:
- Flight to Kathmandu from your home country,
- Nepal visa (~$50),
- extra meals and drinks - best to prepare ~2000 NPR (~$15) per day for this,
- hot showers - ~1000 NPR (~$7) in Dingboche, probably more expensive higher up,
- WiFi ~1000 NPR (~$7) for 24h,
- souvenirs and other shopping,
- helicopter ride back from Gorak Shep to Lukla (if you choose that option) - around $950 in my case,
- insurance ($200 in my case).
I didn’t conduct any thorough budgeting, but I spent around $3,500 for the entire trip, excluding the flight to Kathmandu, but including everything else. A massive blow to my travel budget, but worth every cent!
Conclusion
I can only compare this trek with my previous trekking experience on Kilimanjaro in Tanzania. The EBC trek was a bit longer and more challenging due to the cold and atmospheric conditions. However, the scenery was much more spectacular, with stunning views of the Himalayas and the unique culture of the Sherpa people. In Kilimanjaro, there landscape is rather monotonous, with little variation in scenery, and the culture… well, there isn’t much of it on the trekking routes.
All in all, I recommend this trek to anyone looking for an adventure (but not too extreme) in a beautiful part of the world. I’ll be likely doing more trekkiing there in the future!
What next?
After reading Into Thin Air by Jon Krakauer, I don’t think I’ll be attempting to summit Everest anytime soon! That said, there are plenty of other trekking routes in the Himalayas that I would love to explore in the future, such as the Annapurna Circuit or the High Passes trek. First, though, I got inspired to do the Tour du Mont Blanc in the Alps, perhaps next summer!